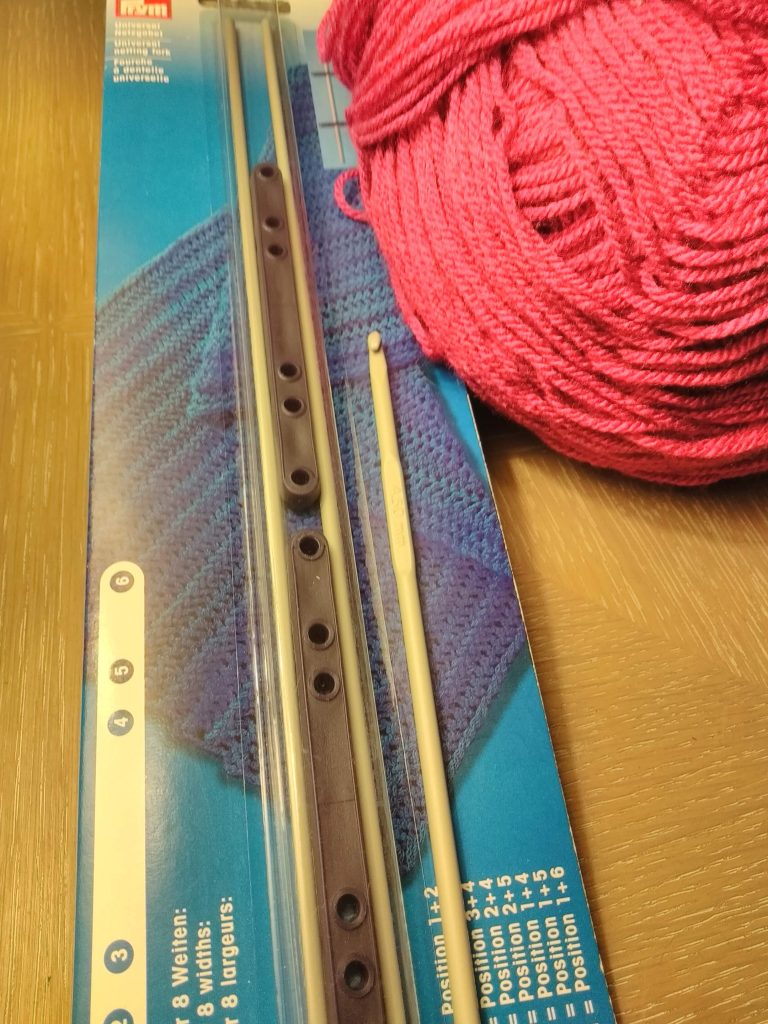
I bought myself a new toy in the John Lewis New Year clearance sale. I have never seen a Netting Fork before and I always love a challenge. I had no idea what it was for so I bought it and hoped for the best!
My joy increased when I saw only 4 steps to successful hairpin lace. How hard could it be?
(famous last words)
Attempt number 1:
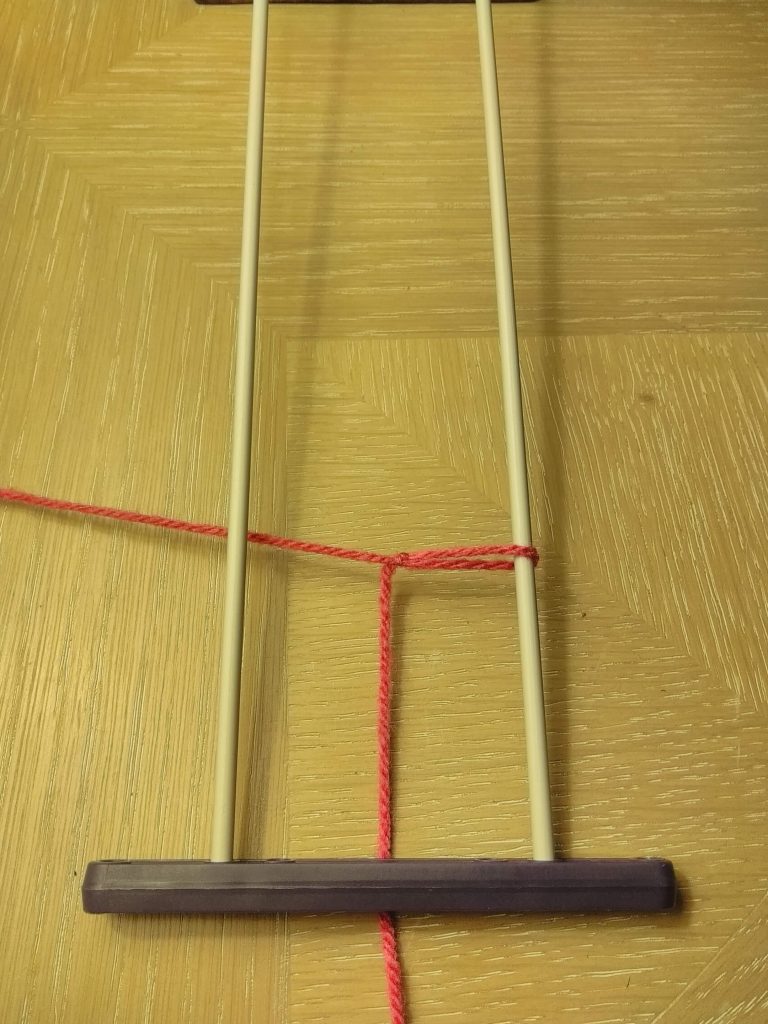
I put the bars in position 2 because that seems manageable and I am not sure I know what the difference will be. I set off and it was not as easy as I had hoped. At first I couldn’t get going at all because I kept getting tangled in the tail of the slip knot used to start. Once I had worked out how to hold that out of the way and actually start I thought it would come easily.
Well I wish I had a photo of my first attempt but it was such a disaster it fell to pieces before I could get one. I don’t know exactly what I did wrong but I think it was the fact that I did slip stitches in the loops. The loops slid all over the place and when I accidentally dropped the loom I couldn’t work out what was what or meant to be where any more.
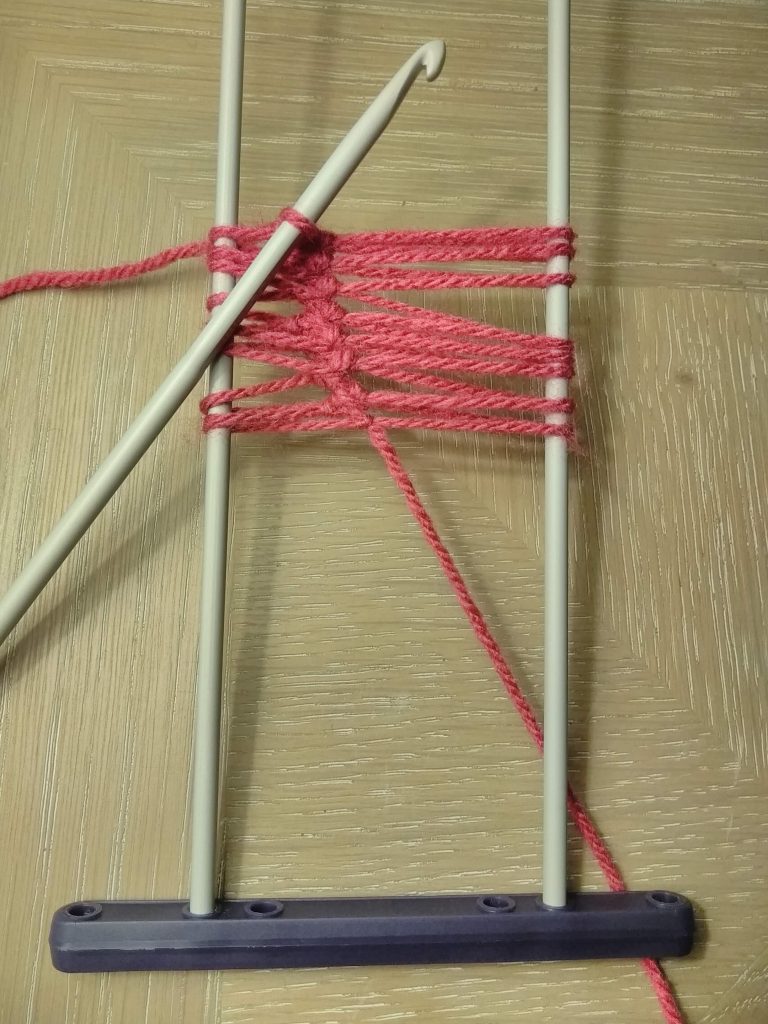
Attempt 2:
Having got over the horror of this not being as easy as I had assumed, I dusted myself off and tried again. A more careful look at the instructions showed me that I needed a double crochet to hold the stitch in place. That was a lightbulb moment!
While the crochet held this time it was surprisingly easy to drift off centre. I wasn’t very careful about tension and I think I must have placed the first stitch to far to one side and so all the rest carried on in this way.
I was all fingers and thumbs trying to turn the loom and keep tension and not drop the hook. Although I later realised that you don’t need to hold the wool to tension when turning the fork.
I think this must be a good technique for a different, more decorative hairpin lace. I can imagine zigzagging backwards and forwards to create an interesting design but since it wasn’t on purpose I classed this as a failure.
Attempt 3:
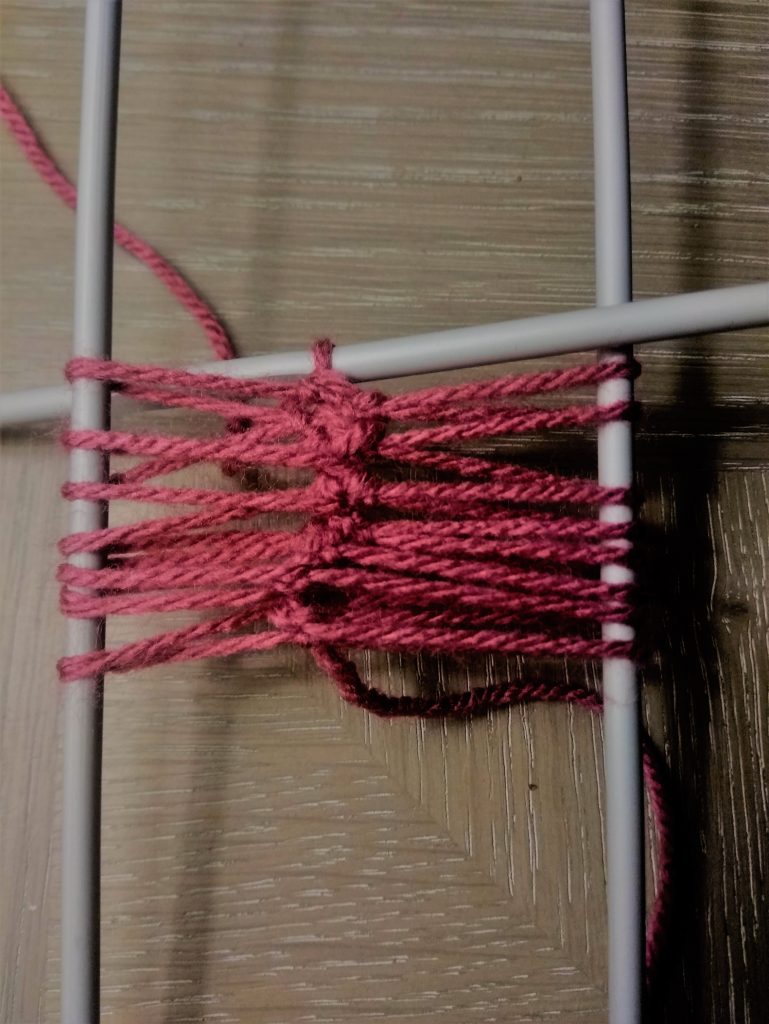
More central this time. I have no idea what is going on here. I seem to have picked loops at random to crochet into. Back to the instructions: looking closer I can see that I haven’t been consistent about which way I entered the loop and even seem to worked into the loop below the one I should have been working. I had been more relaxed about how I held the wool when turning and so hadn’t watched where the new loop had landed. There is a lot to keep track of.
Attempt 4:
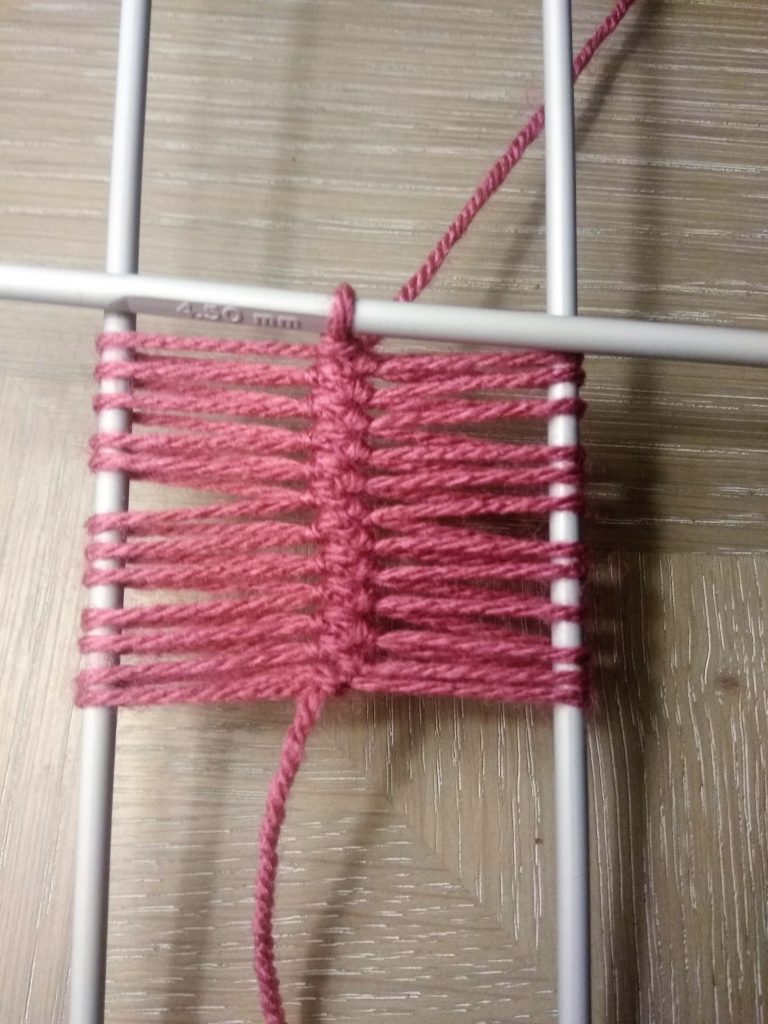
4th time is a charm!
Once I corrected all those mistakes it seemed to come as easily as I hoped. I even managed to get quite quick at it too. Forget meditation, this was blissful!

The instructions provided by Prym are simplistic but comprehensive. It doesn’t highlight things like which way to enter the loop or how tight to pull the wool but the images do show this. Combining the written instructions with the images, the two together mean you can pick this up really quickly.
It looks really pretty and I am sure it looks really professional when you manage to get your crochet in a straight line.
I wanted to find a project for using this and started down the Pinterest rabbithole. I finally found this tutorial on joining hairpin lace and decided to make a cowl using this join.
I have had this wool sitting around waiting to be used for something exactly like this project so I hope it will look good in this hairpin lace style.

Katia Earth wool is so yummy! I really like the idea that this wool is recycling and taking plastic out of the world. You still get a really soft and fluffy wool in some gorgeous colours. It’s £3 for 50g which could be worse. I have spent more on wool.
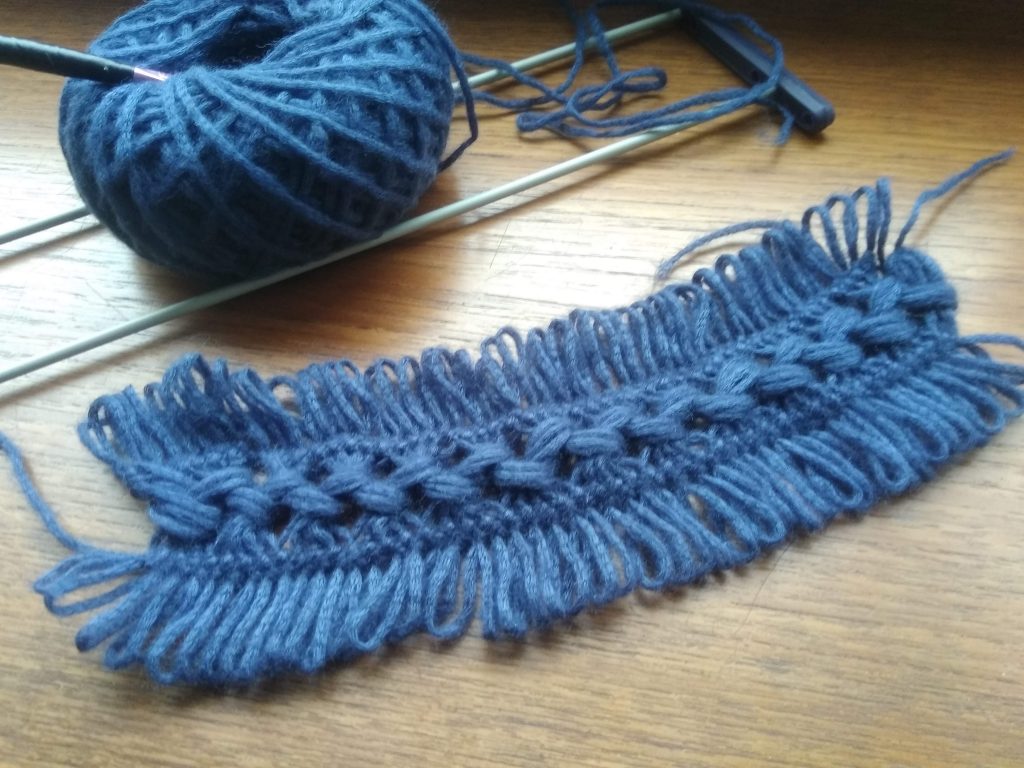
I decided on 52 loops each side (this would give me 13 groups of 4 for the type of join I have picked). I also decide to use a slightly larger hook (5mm) to give a looser feel to the centre stitches. There is only one way to find out whether this will work…
Later…
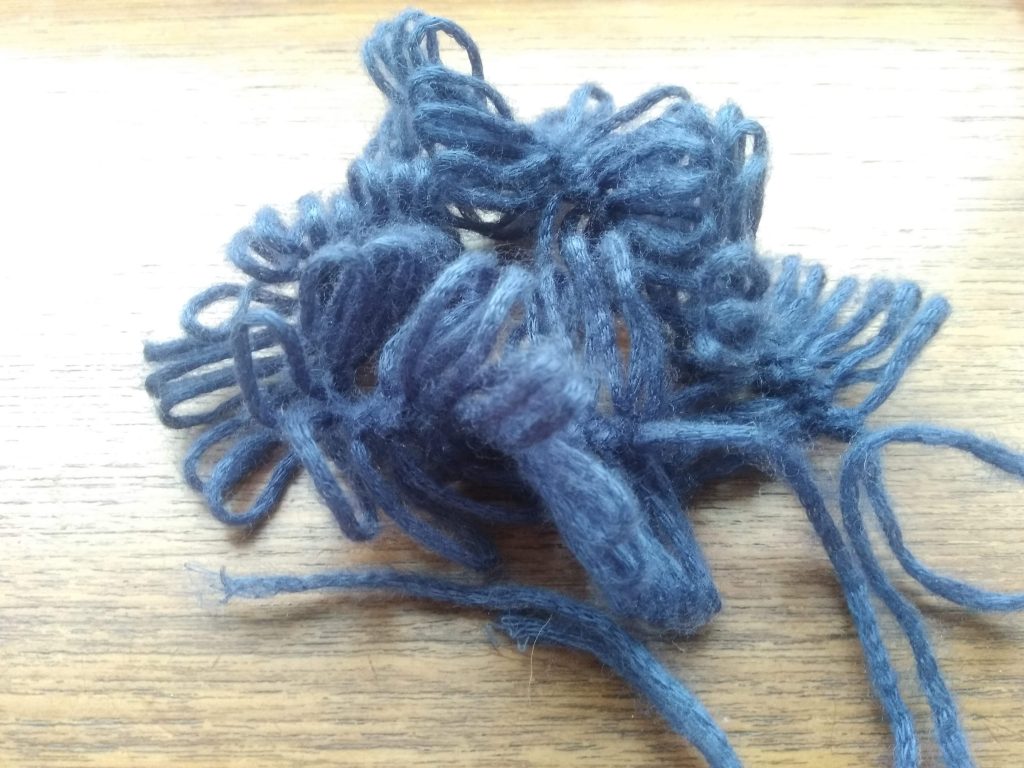
I find that taking the pieces off the loom leaves them in a muddle. So I started storing them in a book. I found this saved a lot of untangling when it came to joining them together.

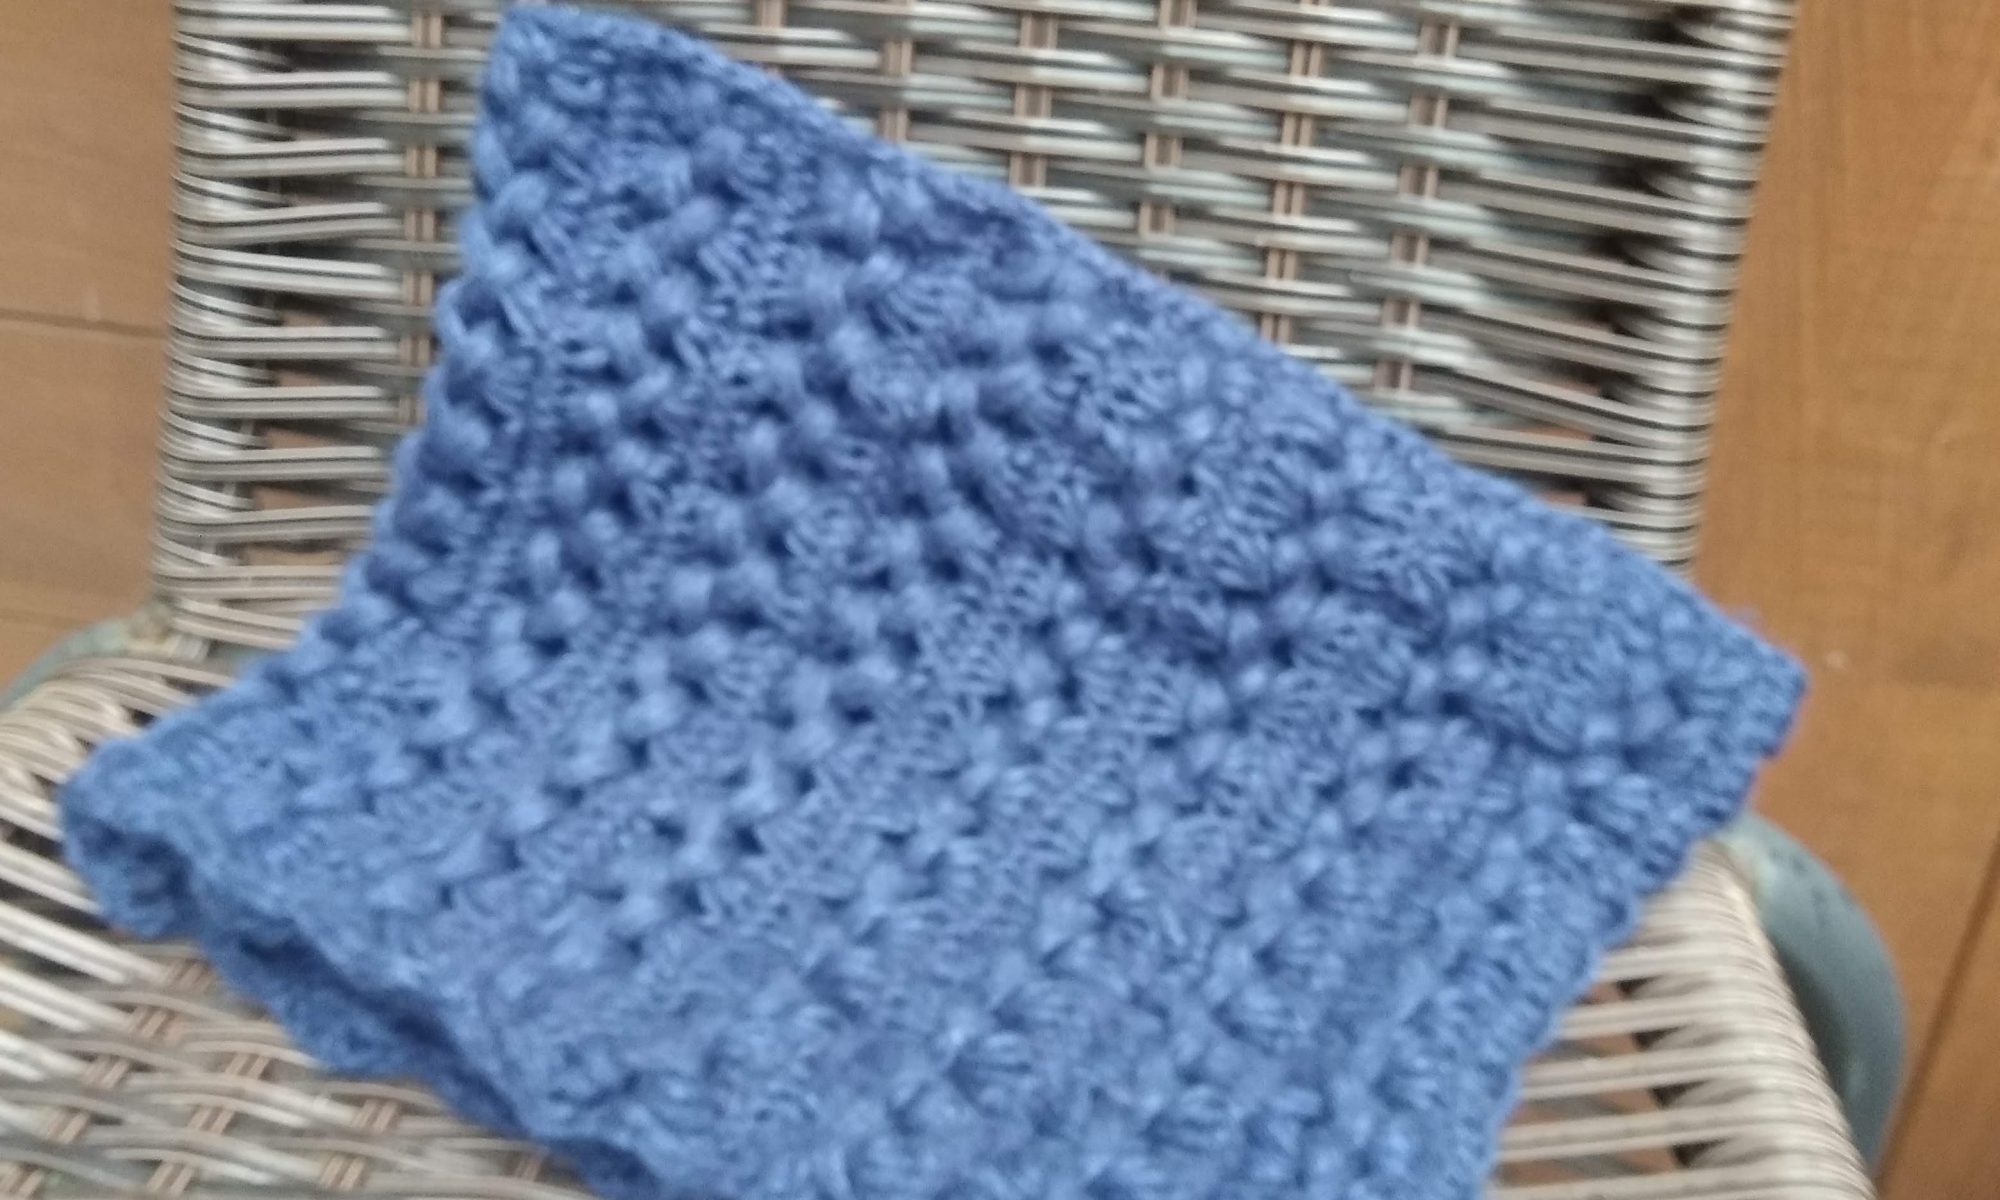
I made 16 strips of lace (an even number will mean you can alternate the joins without repetition). This turned out to be enough to go over my head.
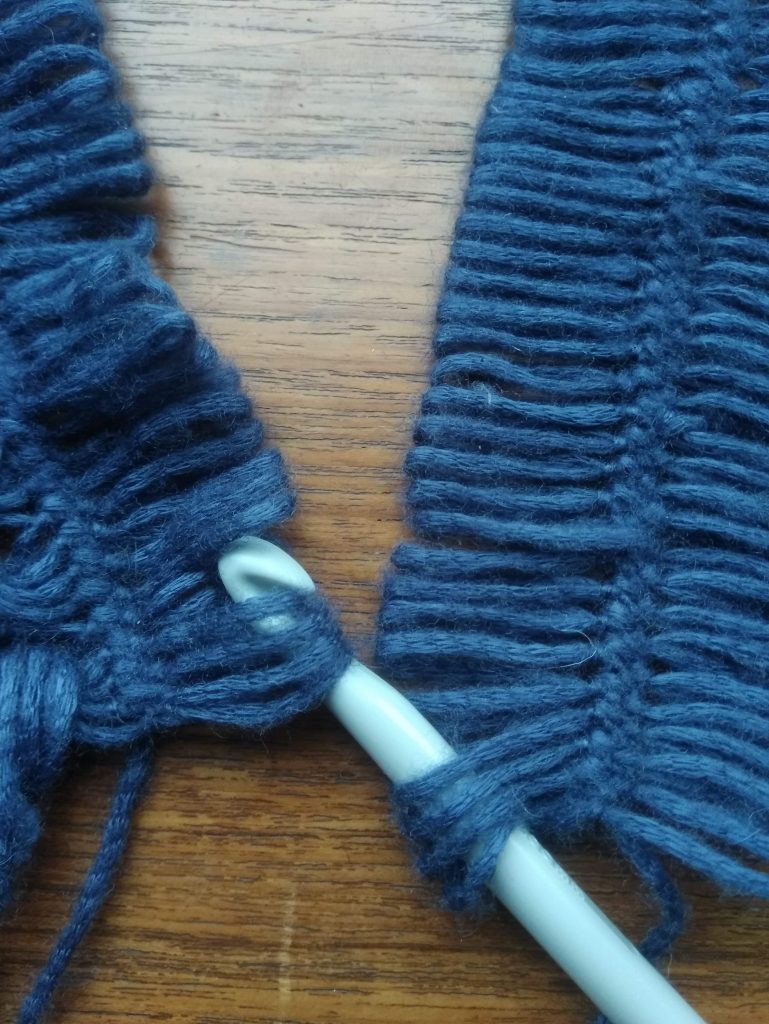
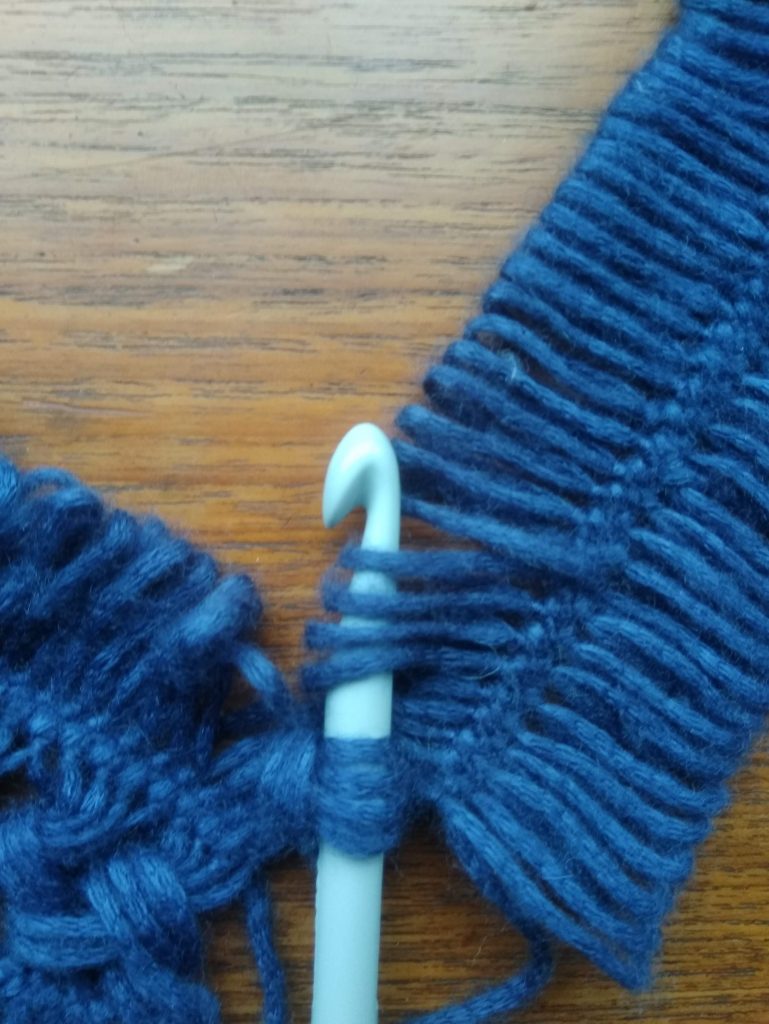
And begin joining.
You have to alternate which side you start with so the work doesn’t start sloping upwards.
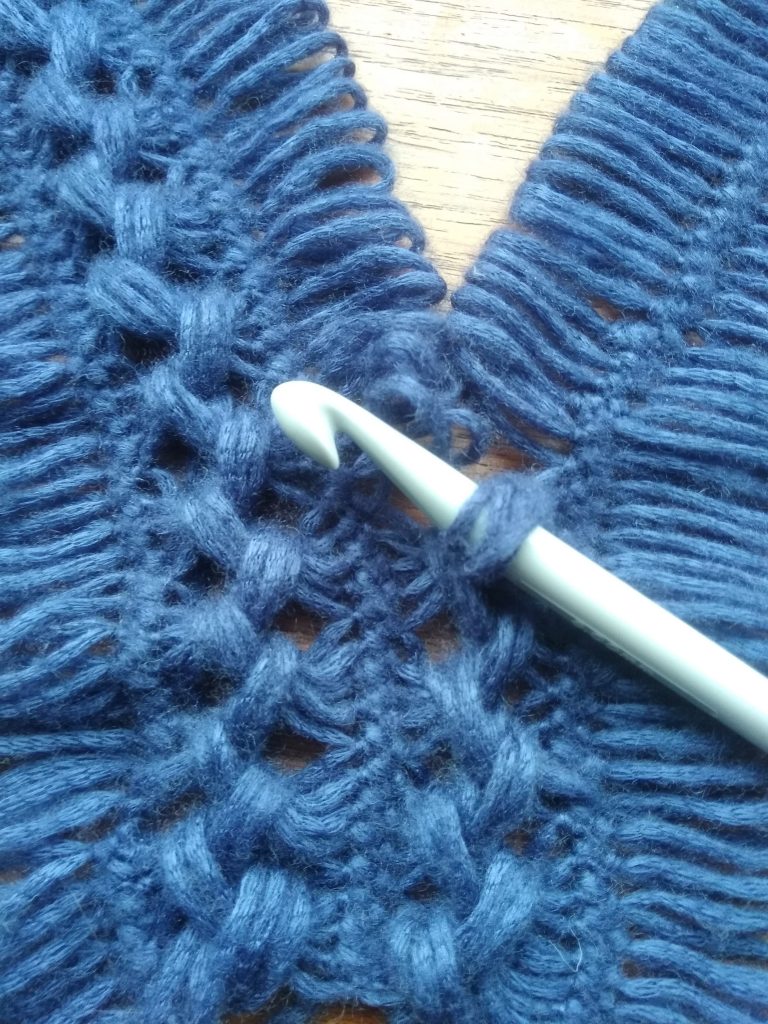
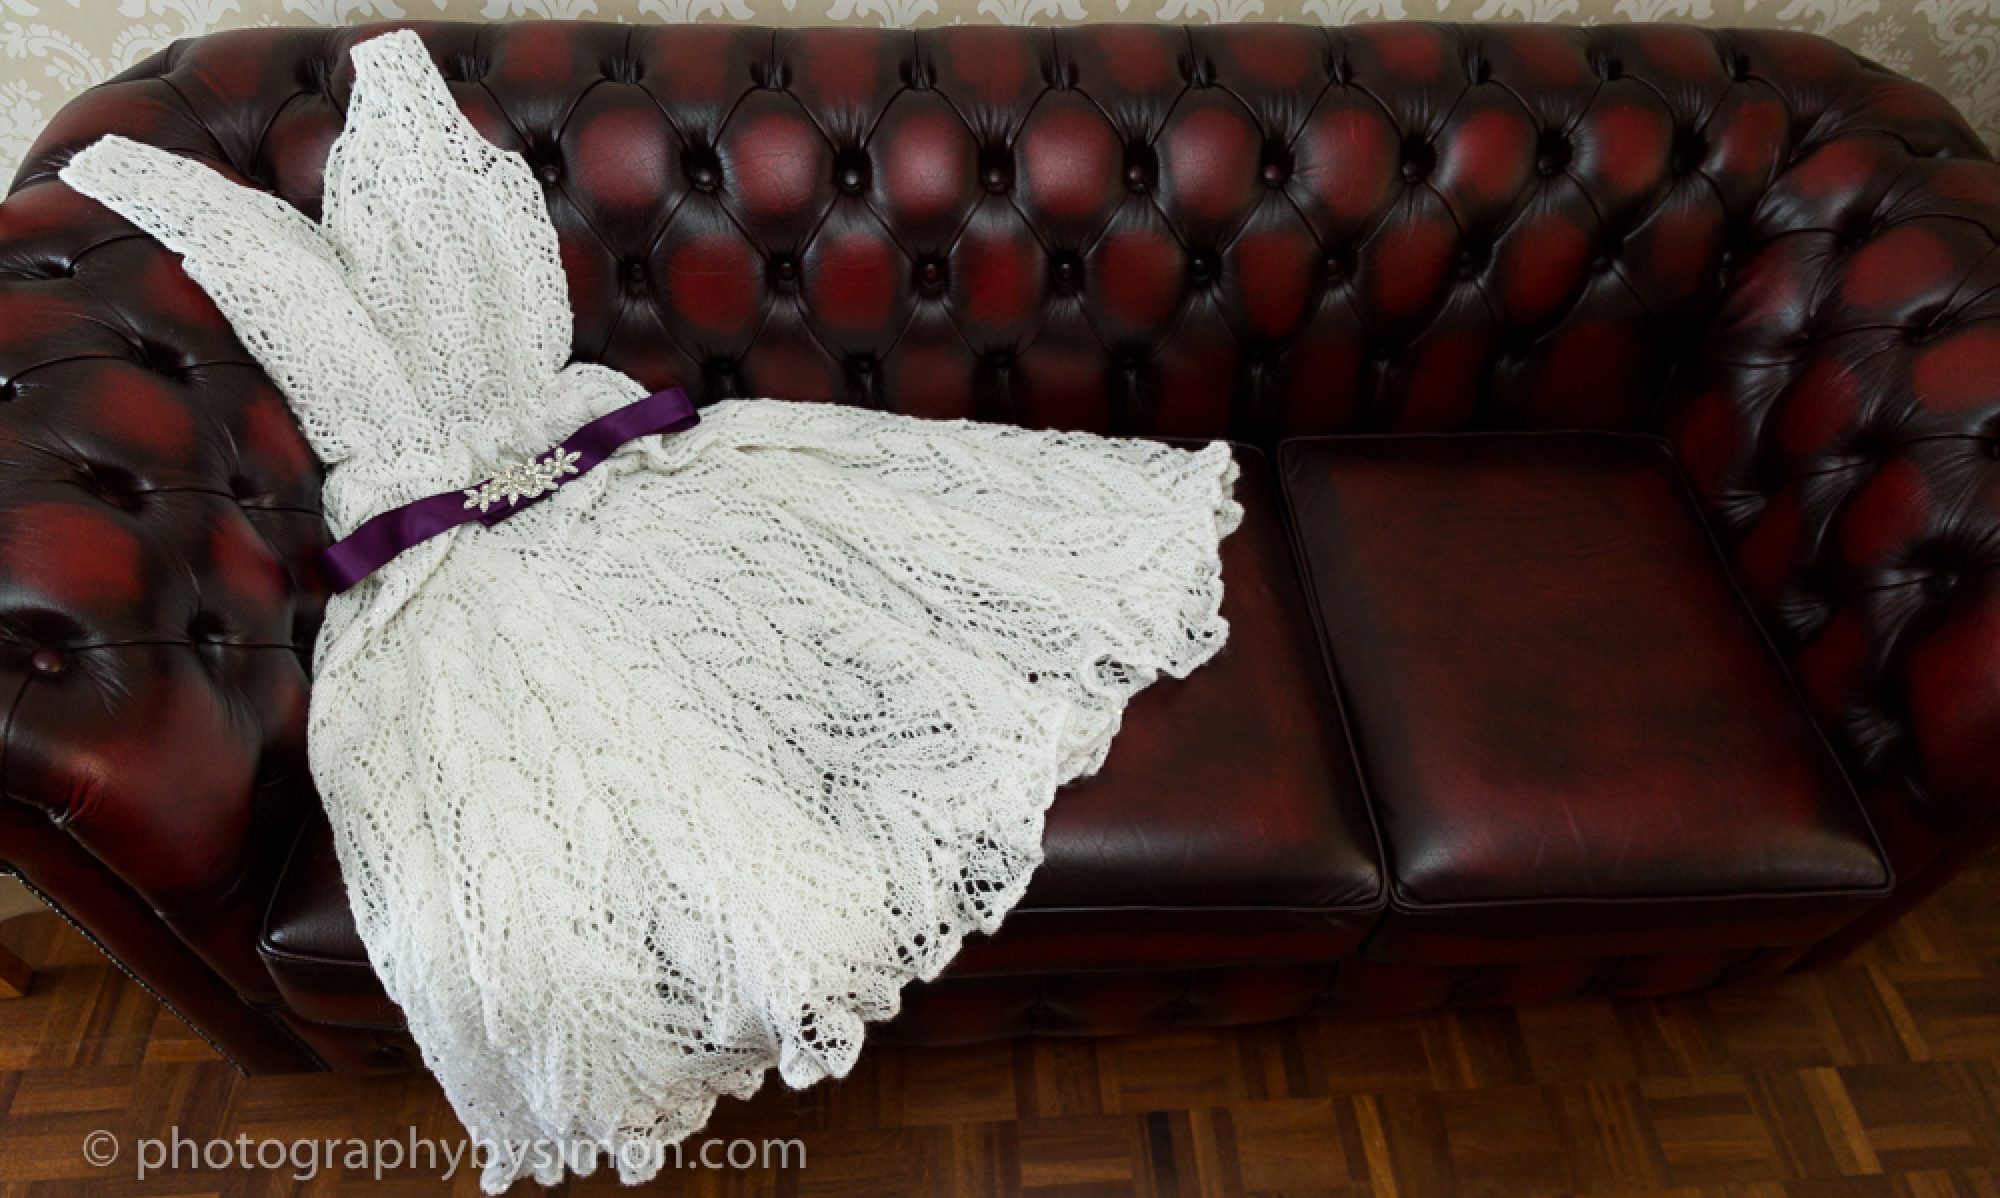
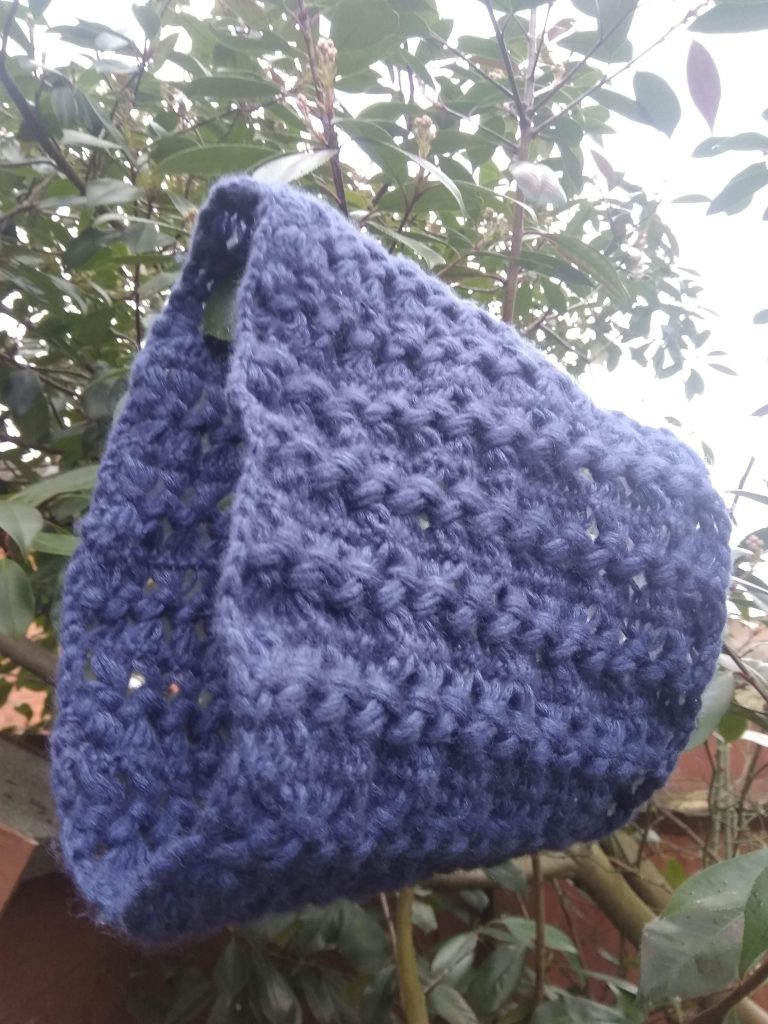
I am really pleased with the end result.
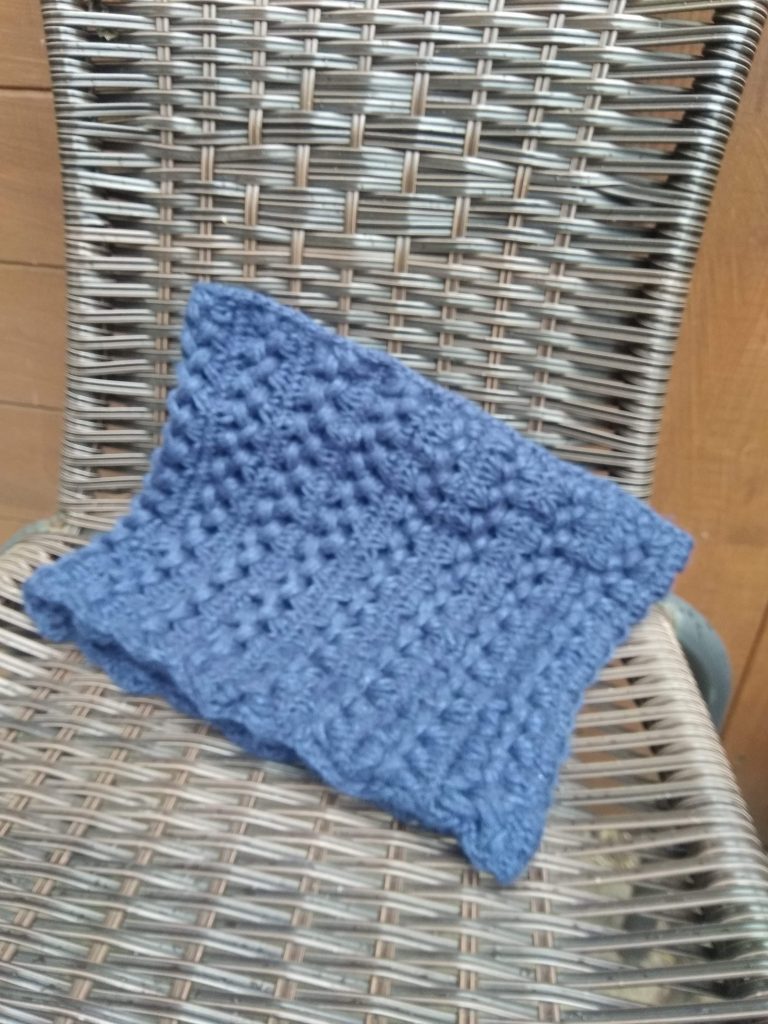
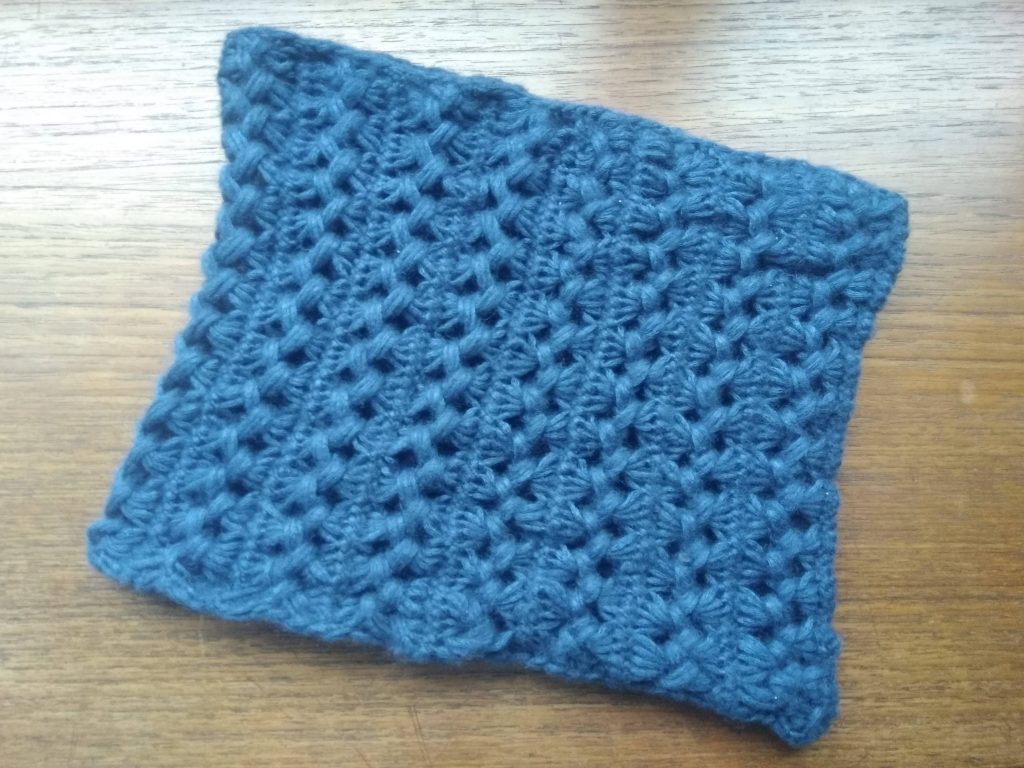

It was really easy skill to pick up in the end and gives really beautiful and unique looking results. I will definitely make this again
Happy crochetting!