There has been a massive influx of newborns into my circle of friends and family. I do love making something to welcome the new little person but can find myself overwhelmed by knitting projects that the babies will probably have grown out of before I even finish them.
And so this 5 hour baby jumper pattern by Beverly Leestma came as a saviour. The pattern is easy to follow and very easy to customise. Short sleeves, long sleeves, cropped cardigan, long, buttons, no buttons. Each one can look completely different and can show your love without burning out your fingers!
I have made a number of these now but I don’t know how long it has actually taken me. I wanted to test the 5 hour claim and see if it is true. So I gathered my equipment, the pattern, a pot of coffee, a supply of films and a timer.
The wool:
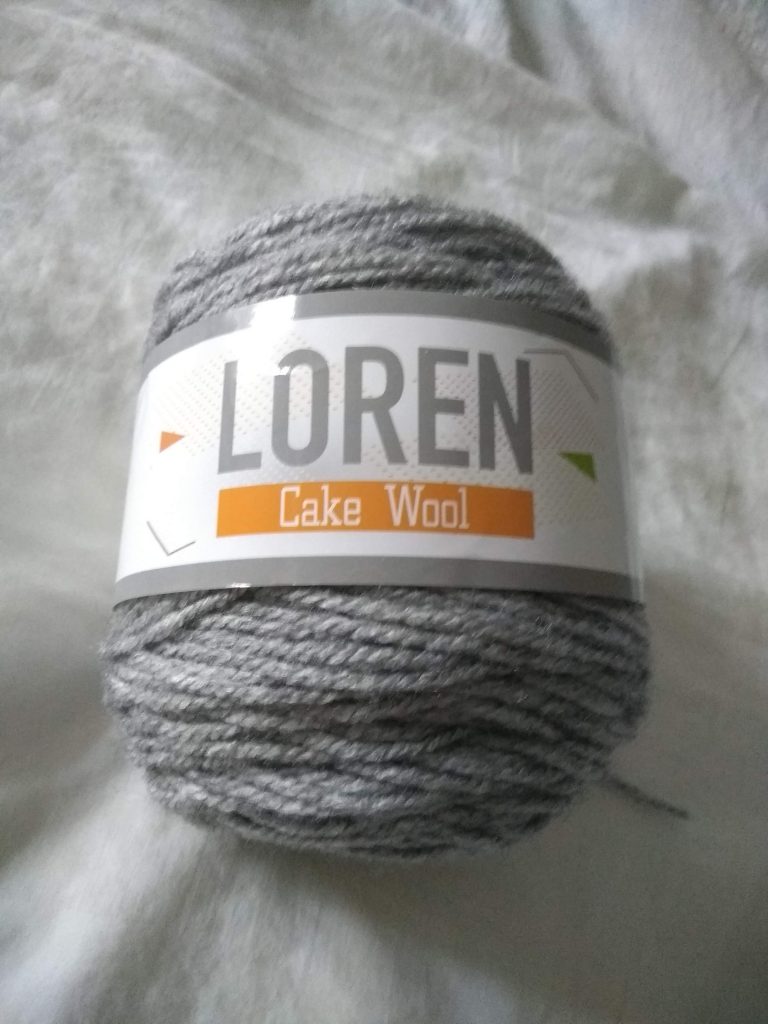
I have this Loren cake wool that I picked up in Wilko, of all places. It is 80% acrylic/20%wool. I think acrylic wool for babies is much kinder to new parents. This particular wool is machine washable at 30°C which isn’t totally ideal but it’s better than hand-wash only. The pattern calls for 4oz (which is approximately 100g) and since that is all I have of this wool it makes it the perfect project.
The needles:
I really love my KnitPro Lace needles. They are light and smooth. I find knitting with them really comfortable and so I use them for almost every project that requires circular needles.
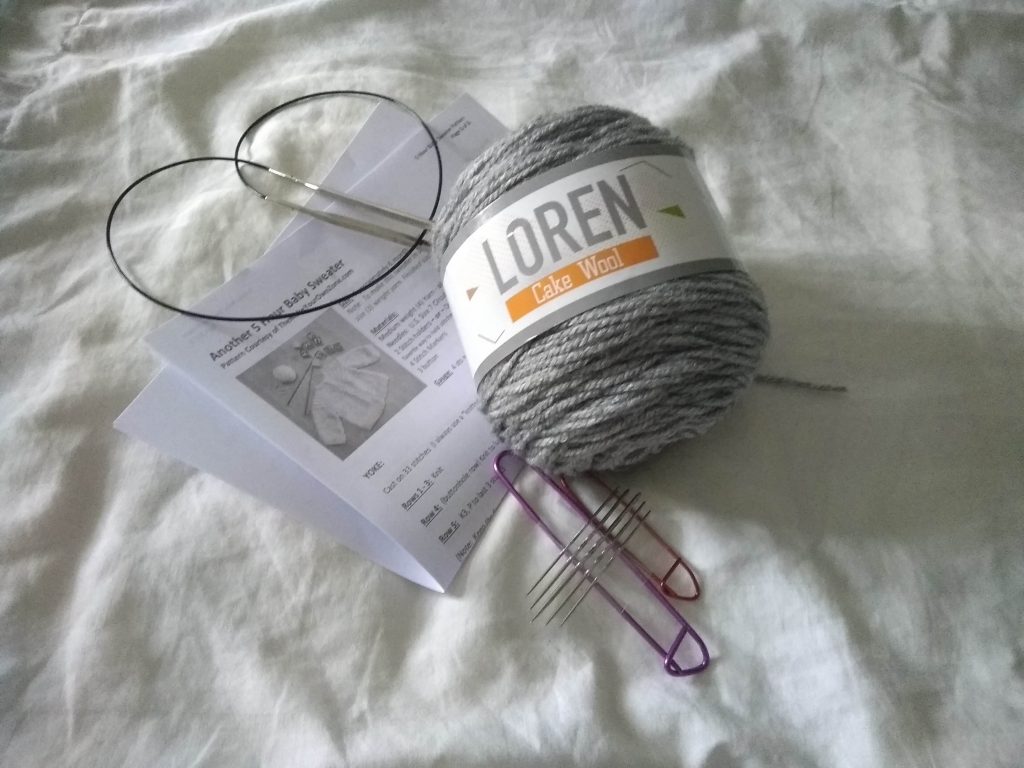
I am also going to test a new wool bowl. I bought this from Tiger because it looks pretty but haven’t used it yet. This cake wool looks like it will lend itself well to using it so I’ll let you know.
Here goes:
1 hour later….
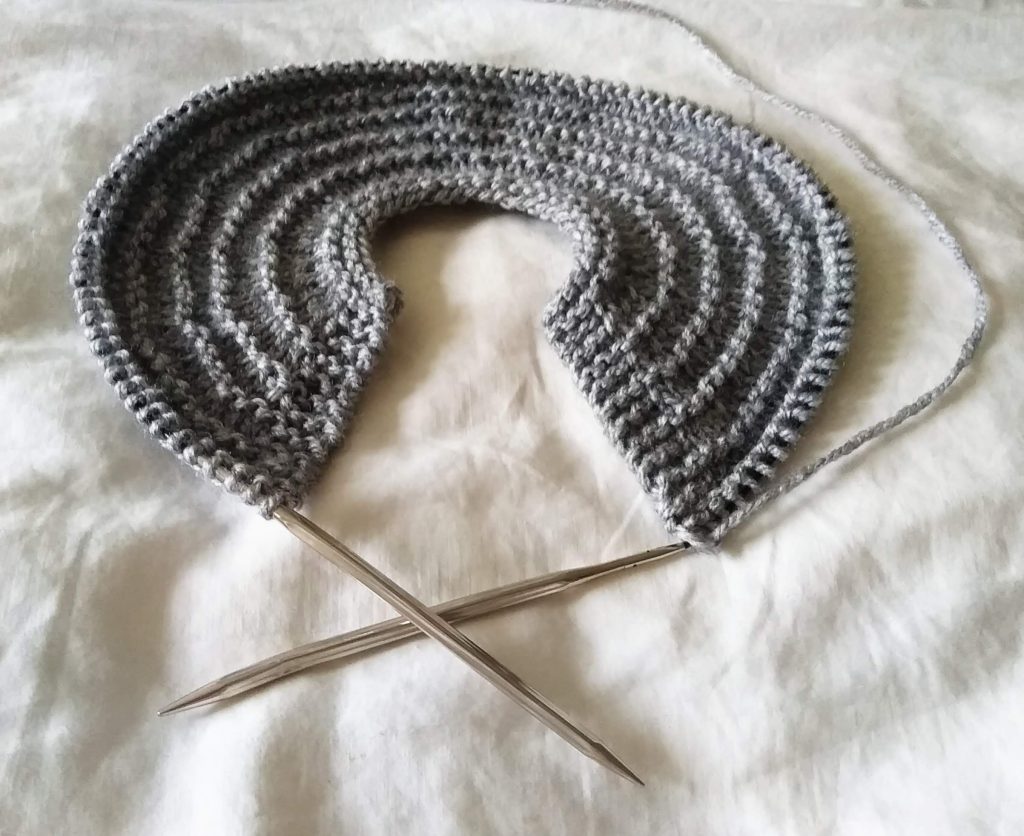
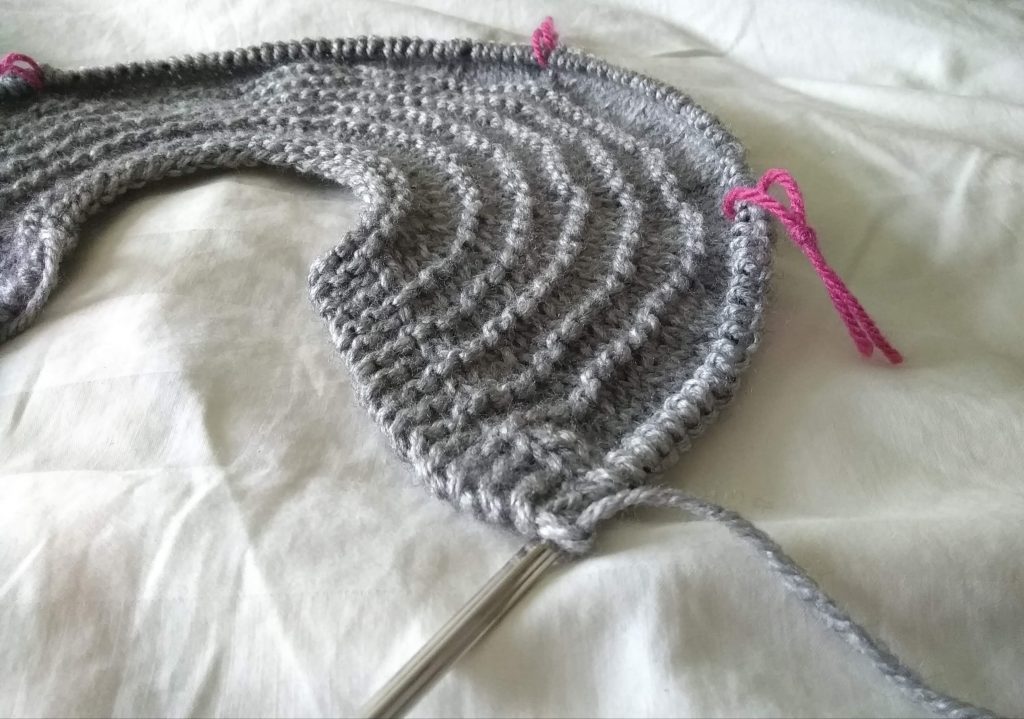
The first section, the yoke, took me 1 hour and 10 minutes. It’s only 25 rows but there is a lot of increases and the fingers are warming up.
I opted for KFB as my increase so it made a solid yoke. Previously I have used YO to add a little decoration and I am also planning (one day) to design a zigzag pattern rather than the straight lines in this pattern.
1 hour and 40 minutes…
I have completed the increases. I have made and put in markers to separate out the fronts, back and sleeves.
I use a different colour wool as a marker for a few reasons.
- 1: I am cheap. I don’t want to pay for stitch markers when I have more wool than I need.
- 2: I lose little things. I can barely keep track of my keys and purse, never mind tiny little stitch markers. I have bought and lost many a tiny stitch marker.
- 3: I am lazy. I have wool to hand but I store my knitting stuff upstairs. Unless I was organised to bring them downstairs at the start, I won’t be getting up to get them.
2 hours and 30 minutes…
Halfway through my time and I have finished the first sleeve.
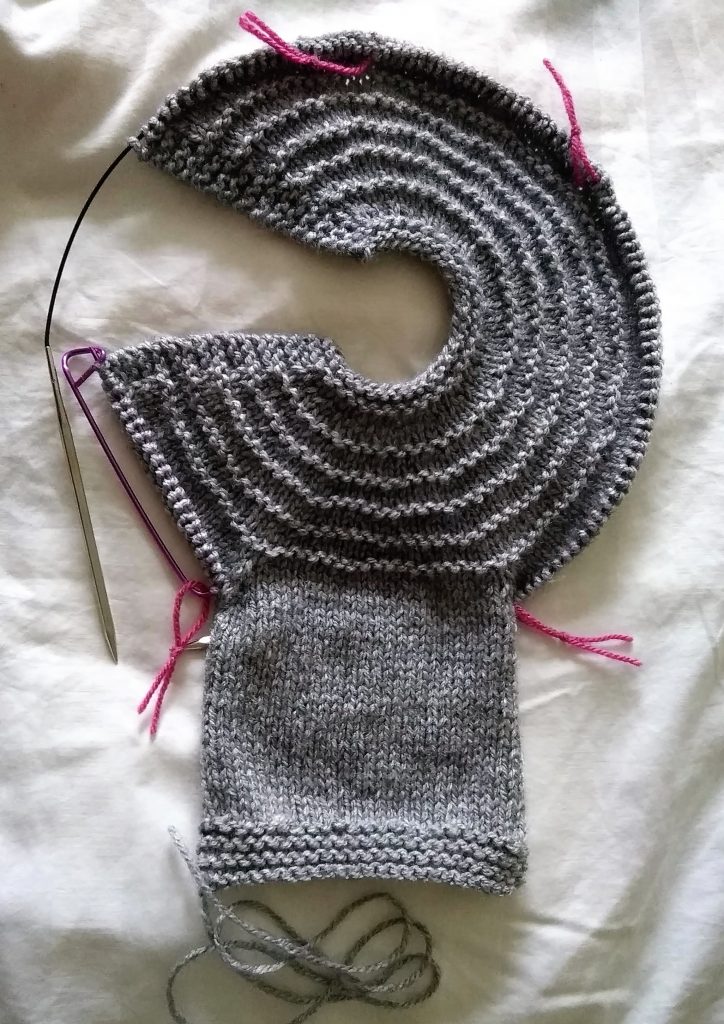
I stopped for lunch because I thought my fingers might drop off. It is quite intense knitting to a deadline as tight as this one feels. It’s amazing how timing yourself can make you feel like you’re knitting slowly even when you’re trying to knit fast.
End of hour 3…
By just over 3 hours, the sun was going down and I had completed the second sleeve.
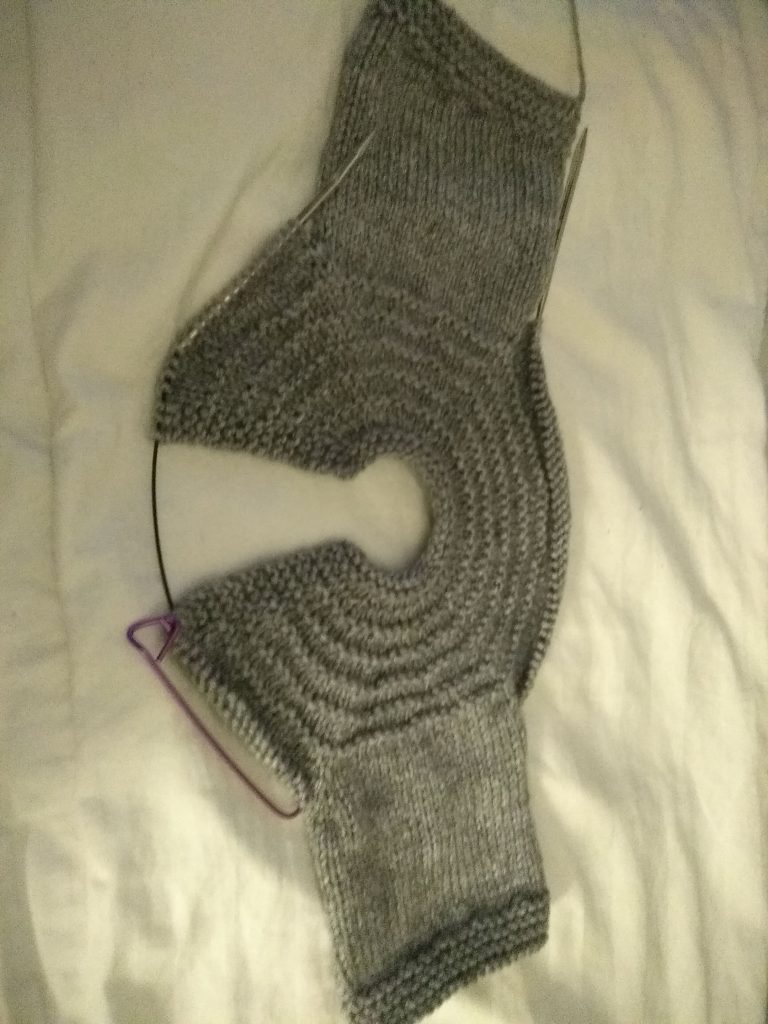
And so, I have 1 hour 50 minutes to knit the body of the jumper. That feels like a long time but the last 3 hours have told me that they will fly by…
End of hour 4…
It’s easy knitting but a long slog. I find I keep counting rows because I think I must be farther along that I am.
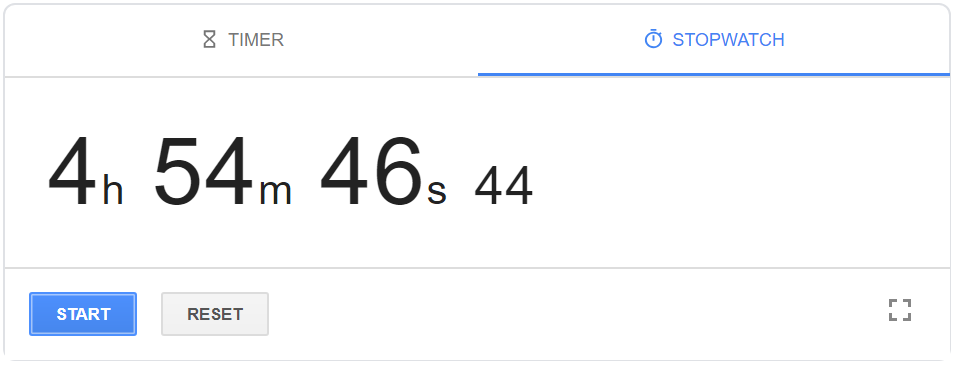
Hour 5…
It is done.
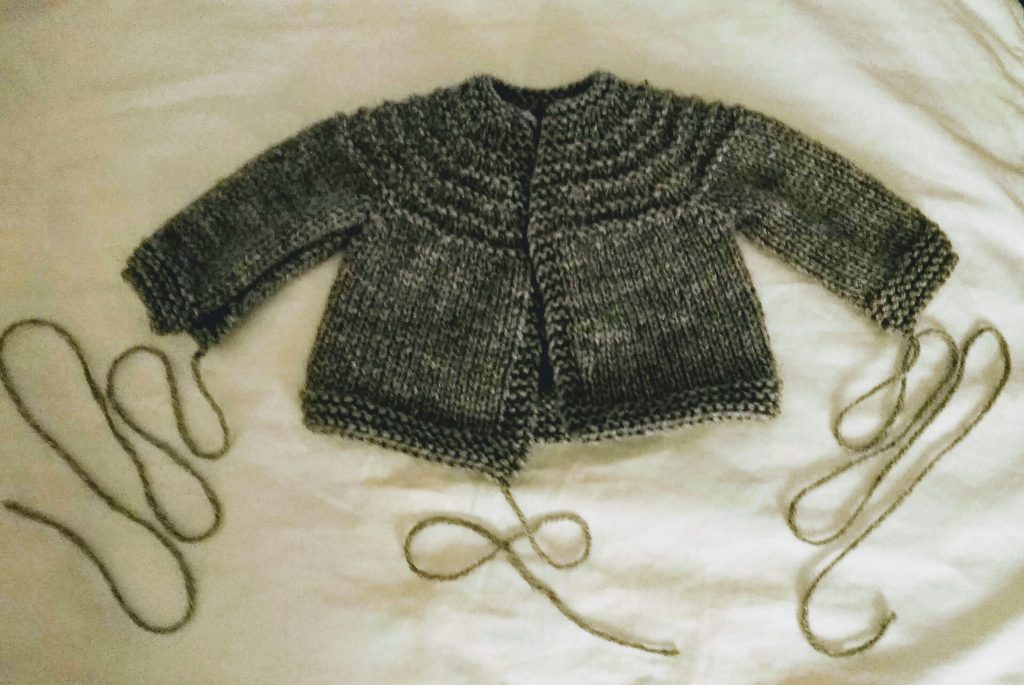
Sure enough – a baby jumper in just under 5 hour. All that needs to be done is sewing up the arms, weaving in the ends and attaching buttons. Then wrap it and give it to the new baby.
But…
While you can knit it in 5 hours that is a measure of actually knitting time. A finger numbing 5 hours…
I set out today to do only this but I had to eat, drink, live life and rest my fingers and so it took me 11 hours to actually finish knitting. Not only that but I haven’t done the finishing. I was going to but I can barely type, never mind sew a seam!
Also, this is a pattern I am familiar with, having knitted it a few times before, so that helped me keep my time. If it is the first time you are knitting it I would say it would take a lot longer.
Despite being familiar I still made mistakes:
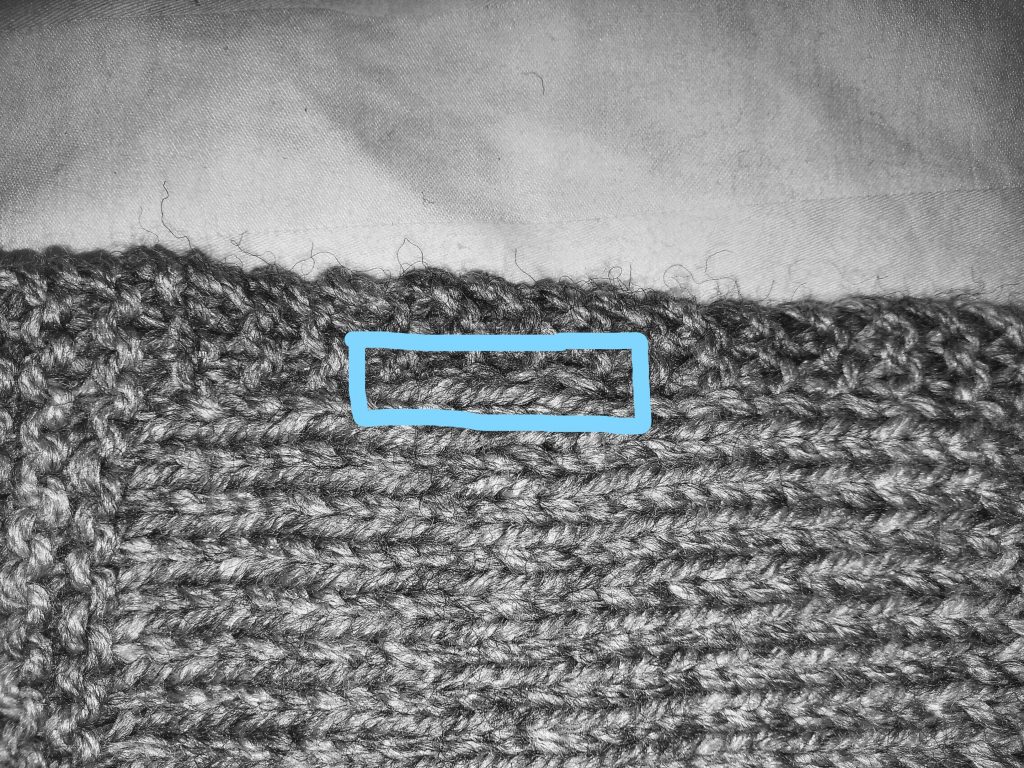
I don’t know how I did it but I managed to pick up a stitch from somewhere and knitted it for 5 rows. Normally I would have unpicked and started again but I was on a timer and I didn’t think I would make it if I did that.
This is the kind of mistake that no-one but you will notice so I don’t feel too guilty about giving this one away but just bare it mind if you’re planning to knit one in an evening for a baby shower you forgot about tomorrow.
All in all, this is a great pattern to keep to hand for those “don’t know what else to knit” days and especially when you’re on a time limit or have lots of babies to knit for. It’s easily editable to make each one slightly different and helps you show your thoughtful side to many friends at once.
Happy knitting!