Bouquets and buttonholes

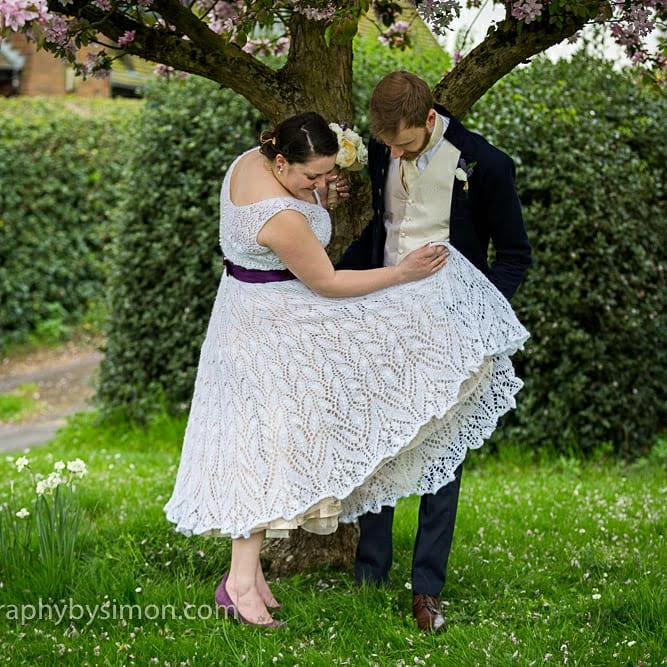
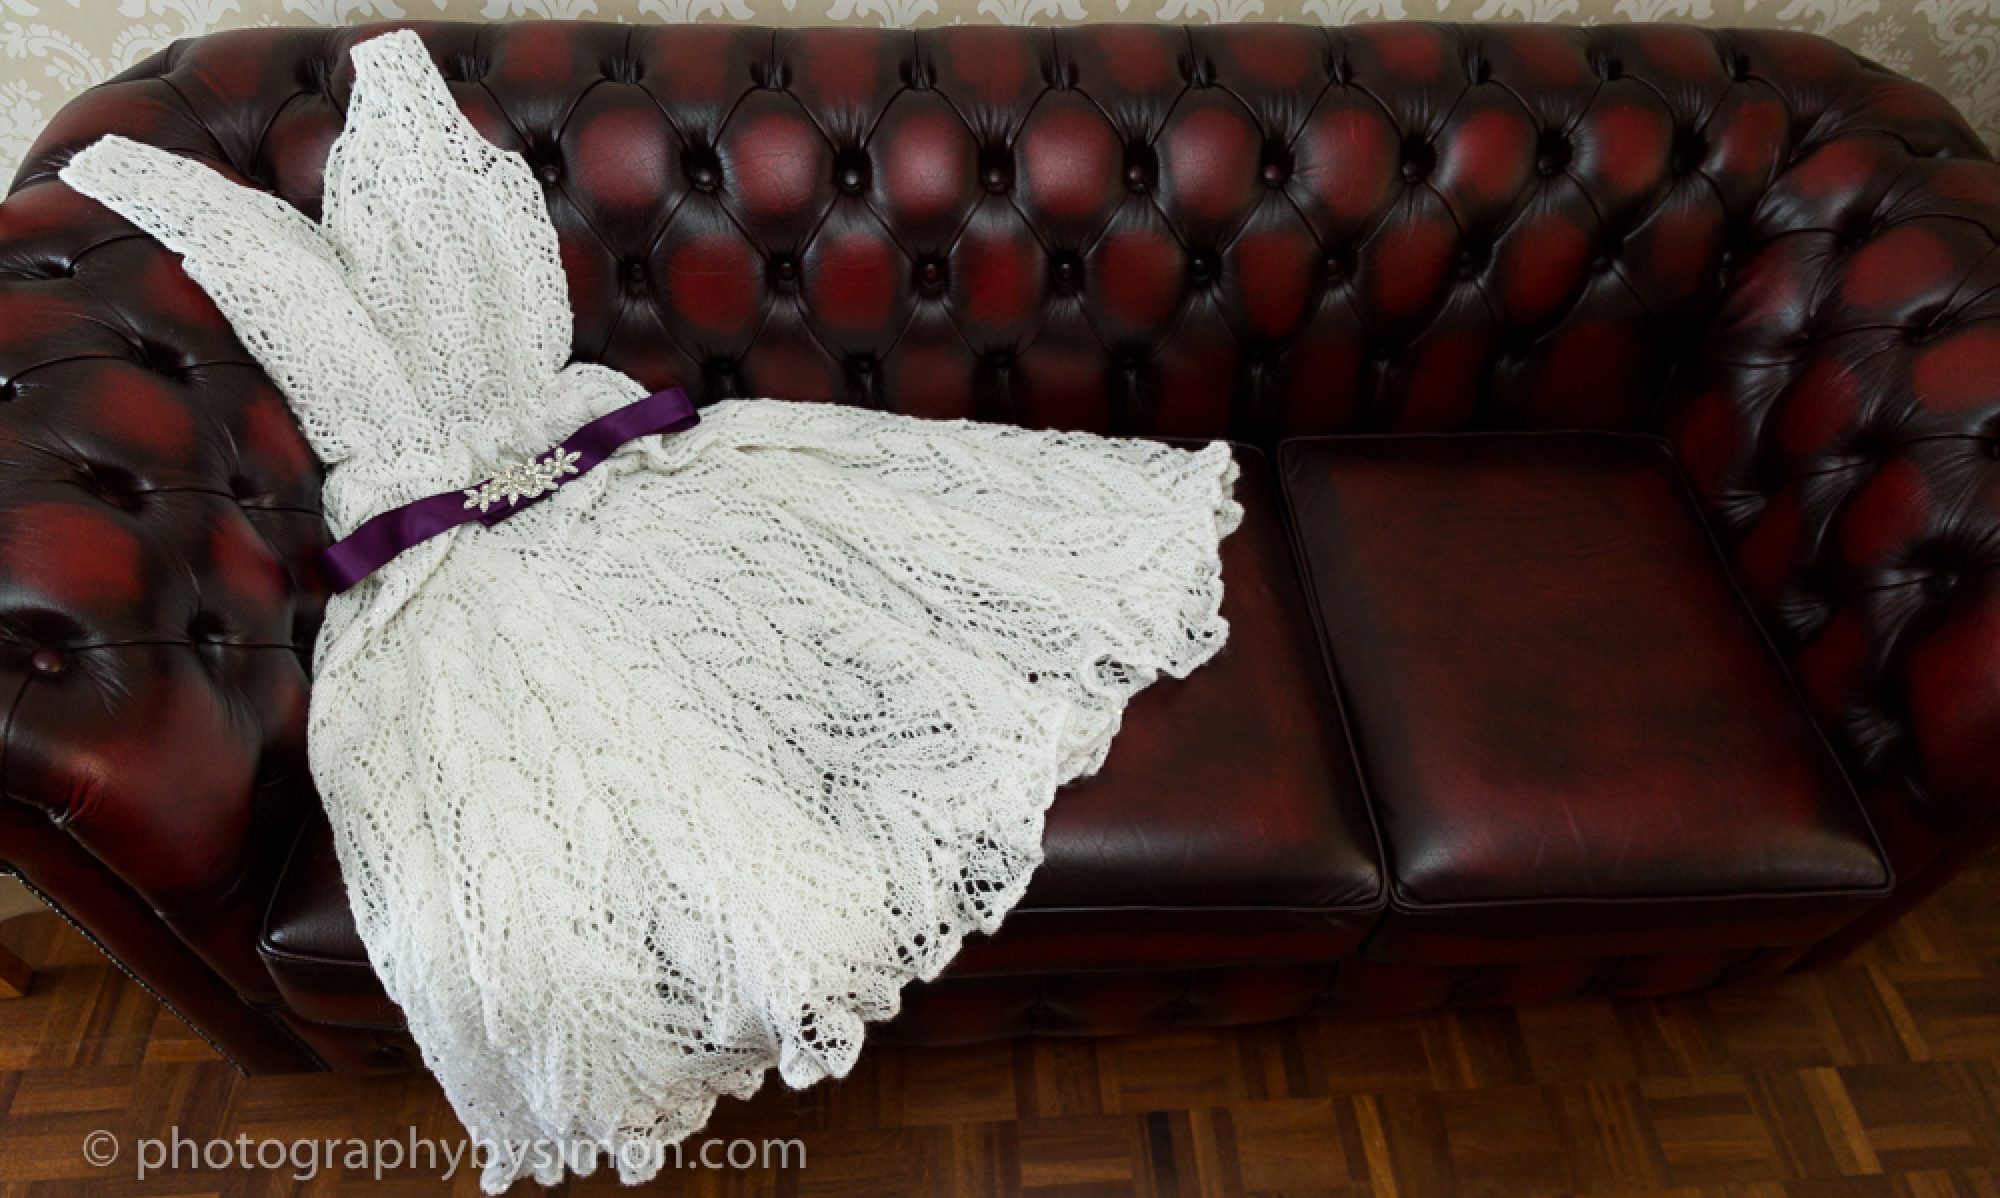
In keeping with my knitted wedding dress I wanted to keep the “crafty” theme but I didn’t want to go overboard with an entirely knitted bouquet. When it came to the flowers, I went to a wedding fair and got several quotes that made my toes curl. I knew immediately that I was going to make the floral arrangements.

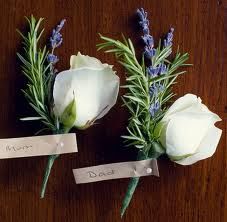
I started with the buttonholes mainly because I could do this in front of my husband and ask his opinion on flowers without him realising that I was taking notes for my bouquet.

I had pinned these images to my secret Pinterest board as my dream buttonhole so I knew what I was aiming for and set about creating it.

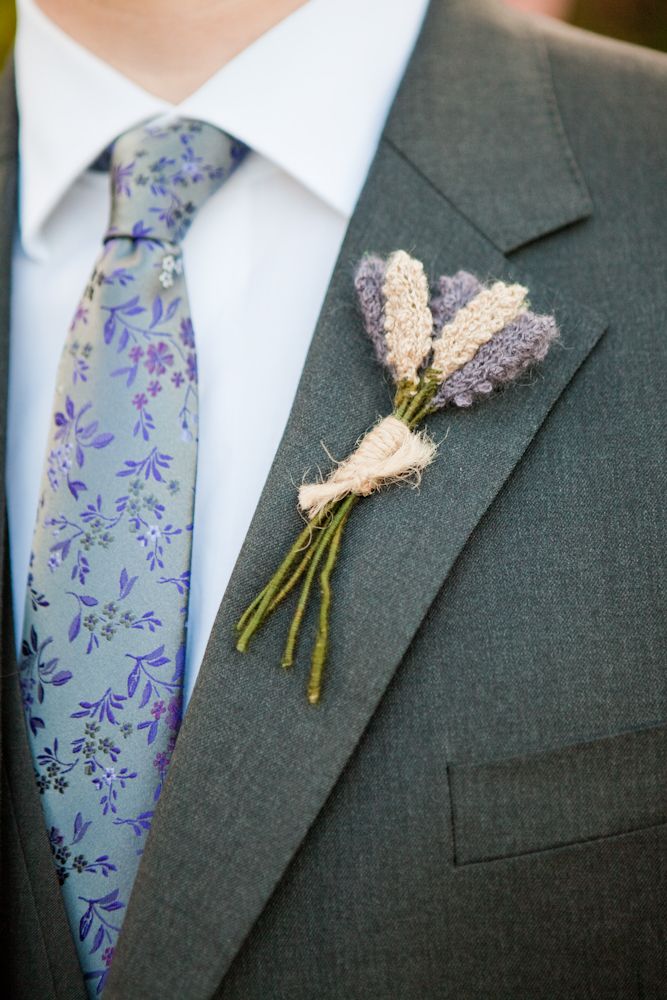
I read the owner of the knitted buttonhole, Crafty Tails, blog and knew that I wanted these too and followed her instructions.

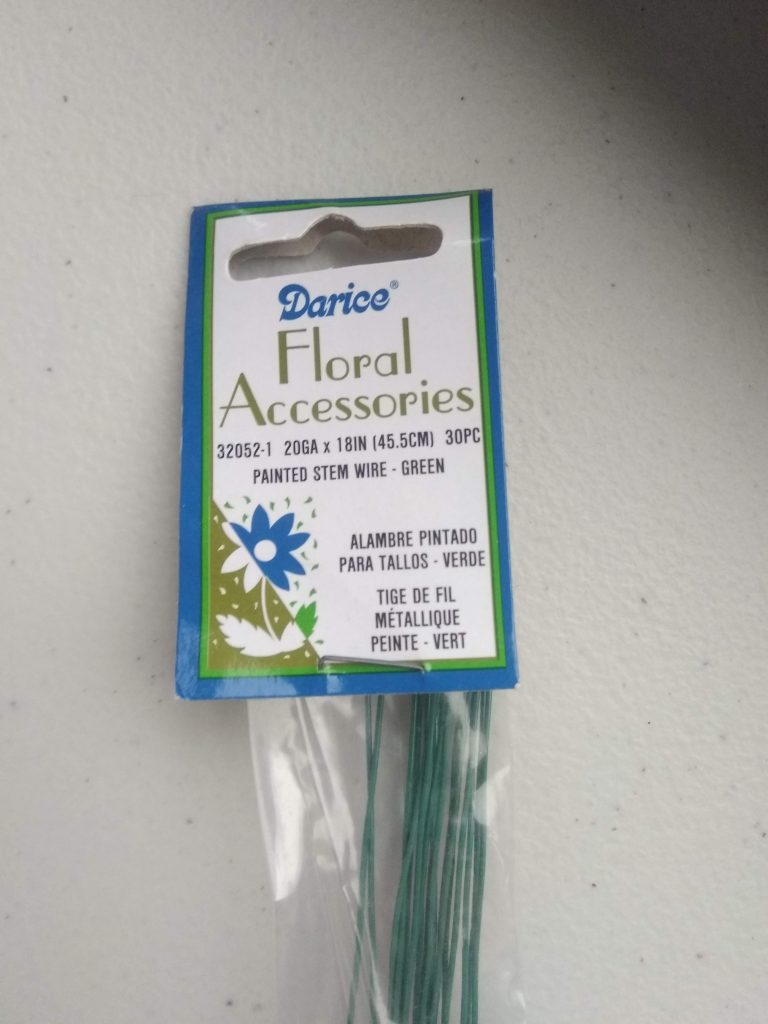
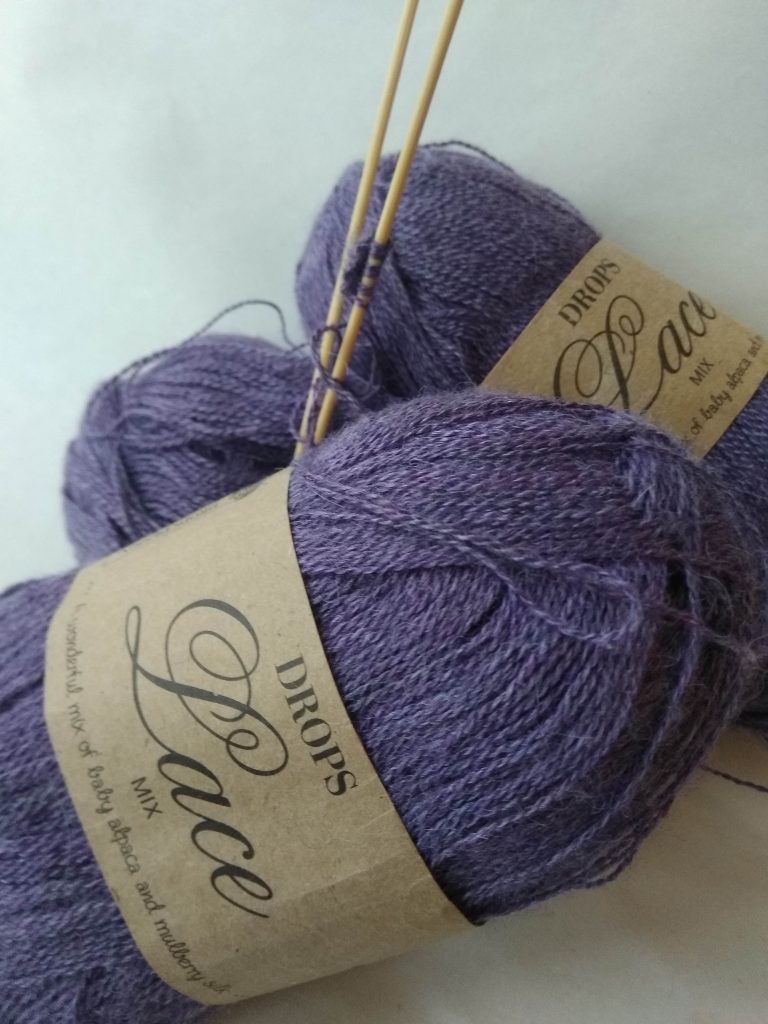
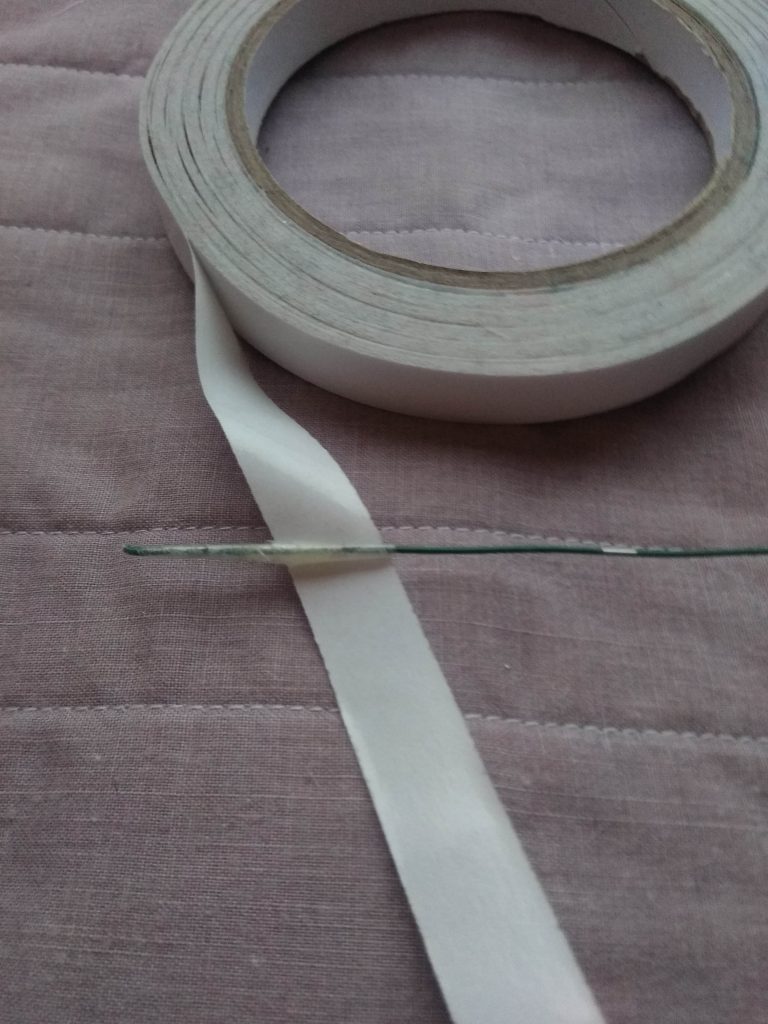
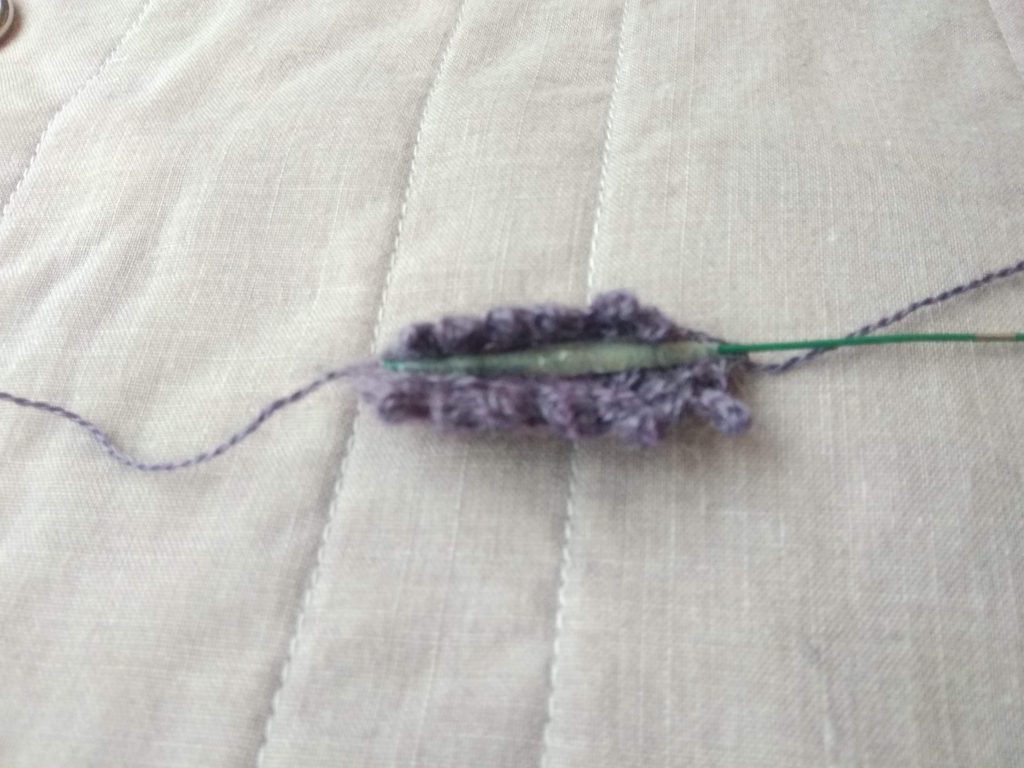
Knitting these with 2mm needles was hard work on the fingers and I got so frustrated with the ease with which the stitches would fall off the needle. I found bamboo needles easier because they were not as “slippery”. This is a labour of love. You have to want them but once you have made 2 or 3 you can knock them out really quickly.

Really love this book. Every kind of flower!

I also knew that if I was going to create these far in advance I needed all the flowers to be fake. I did some research and found foam roses on eBay. I was sceptical until they arrived – I could not have been happier. They look absolutely brilliant and 50 roses cost me £10.

The roses don’t come with leaves so I also bought so fake rose leaves.

For the buttonholes, I took 3 layers off to give a bud. This left little glue dots on the outside which I had to cut off gently but it wasn’t perfect so I tried to position them carefully so it wouldn’t show.

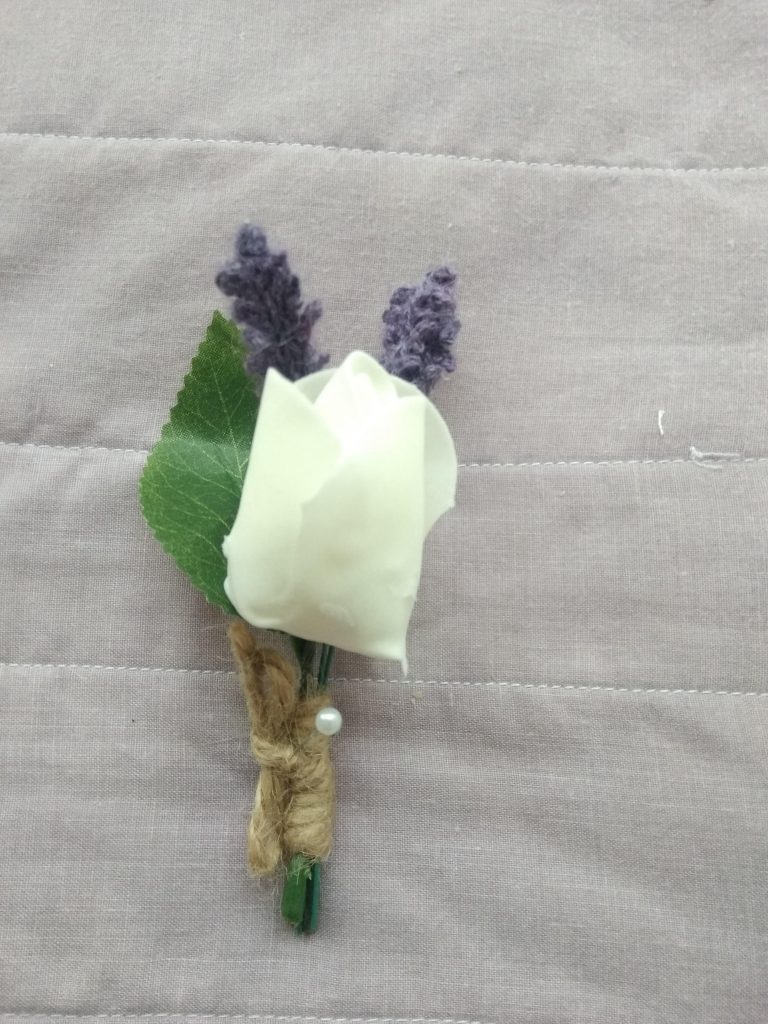
I tied the whole thing together with regular garden string and I was so thrilled with the outcome. Add a cheap pearl style pin to attach to suits and my joy was complete!

Bridal bouquet

I moved onto my bouquet. In order to have lots of options I bought lots of cheap fake flowers from eBay and practised several bunches to see what looked good and what looked really fake.

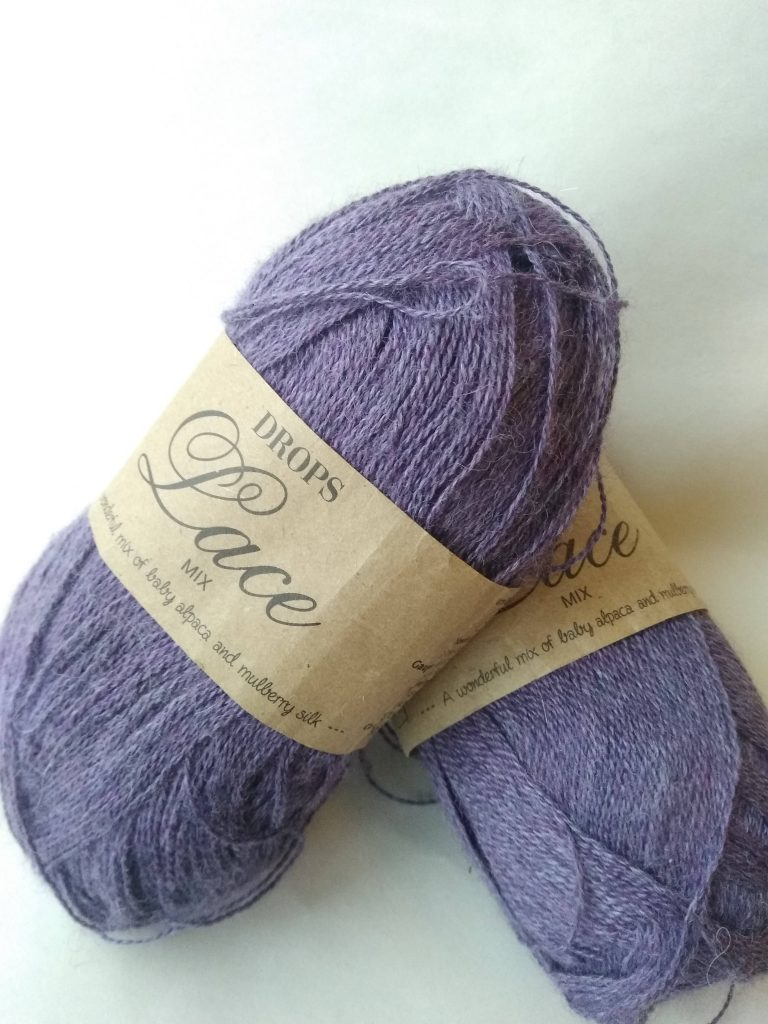
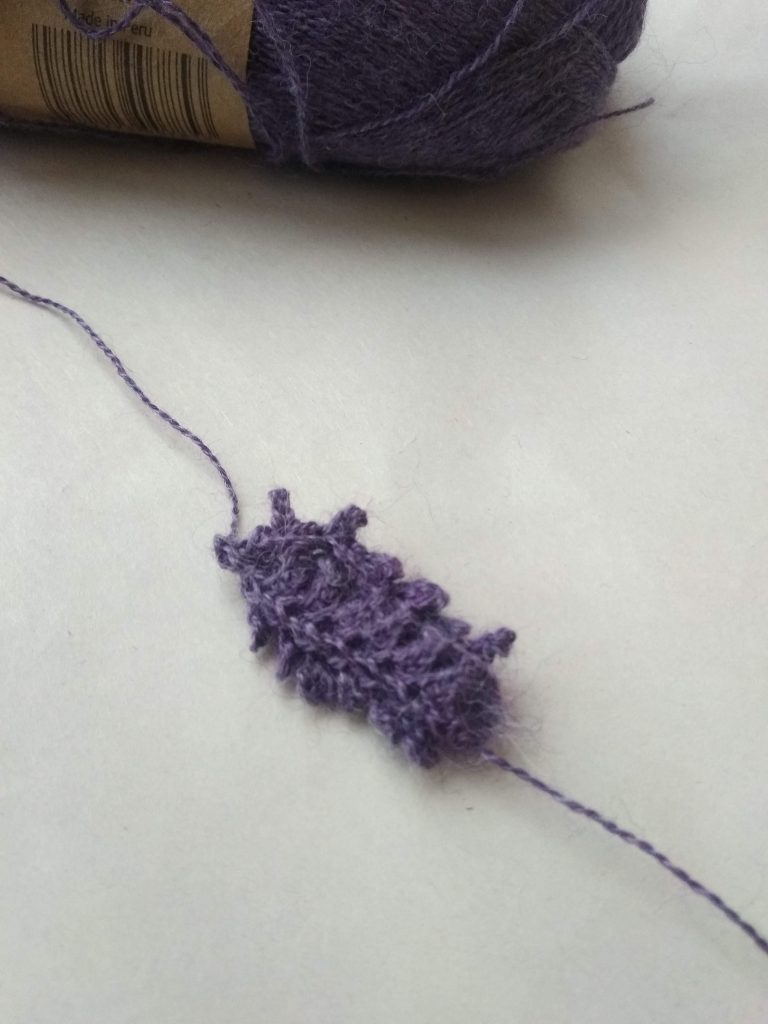
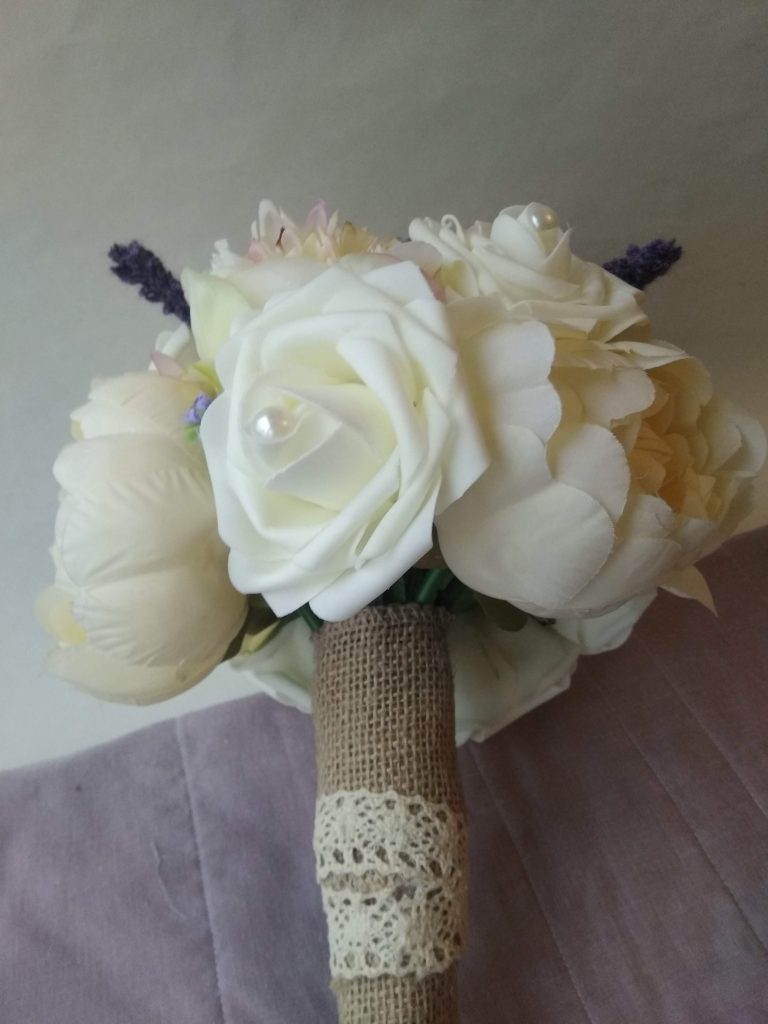
I settled on peonies, foam roses and “purple wild flower”. Combined with the knitted lavender I was able to put together a bouquet I was happy with.

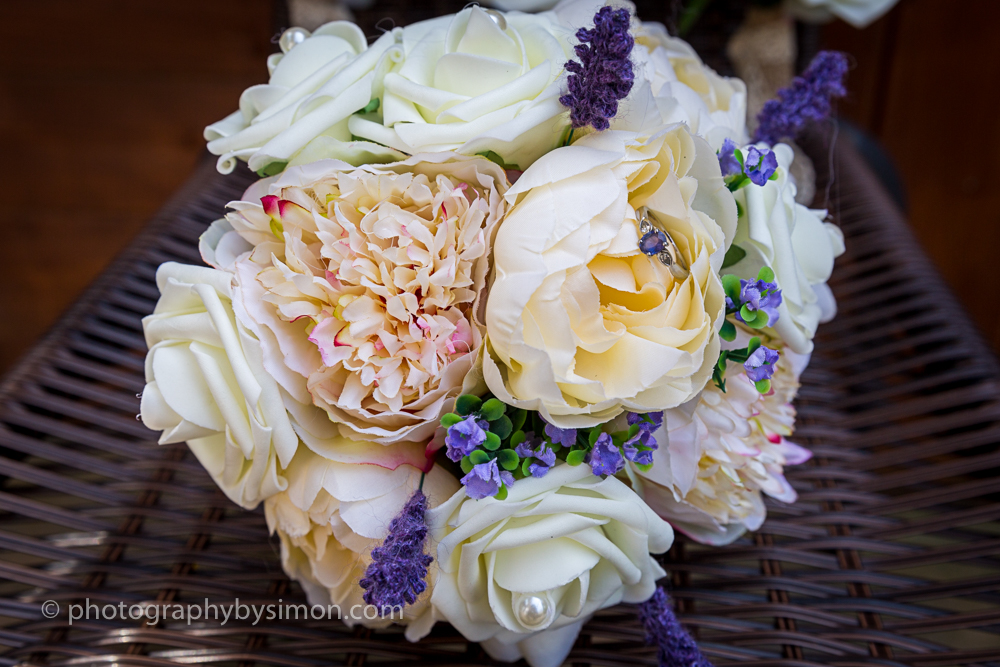
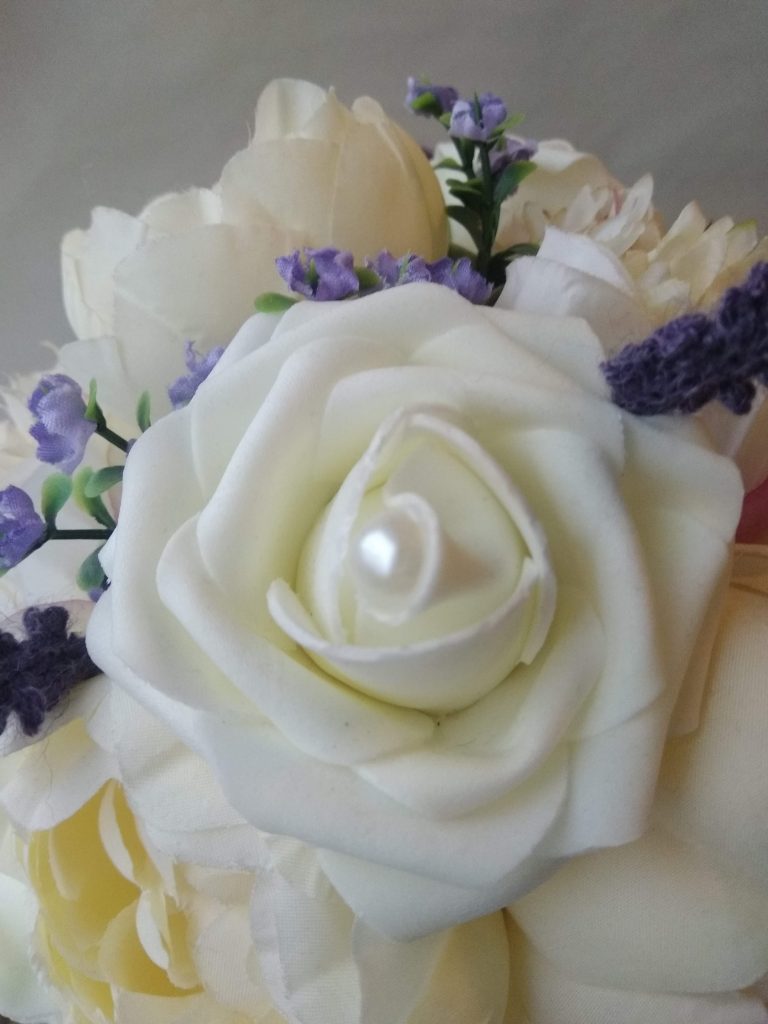
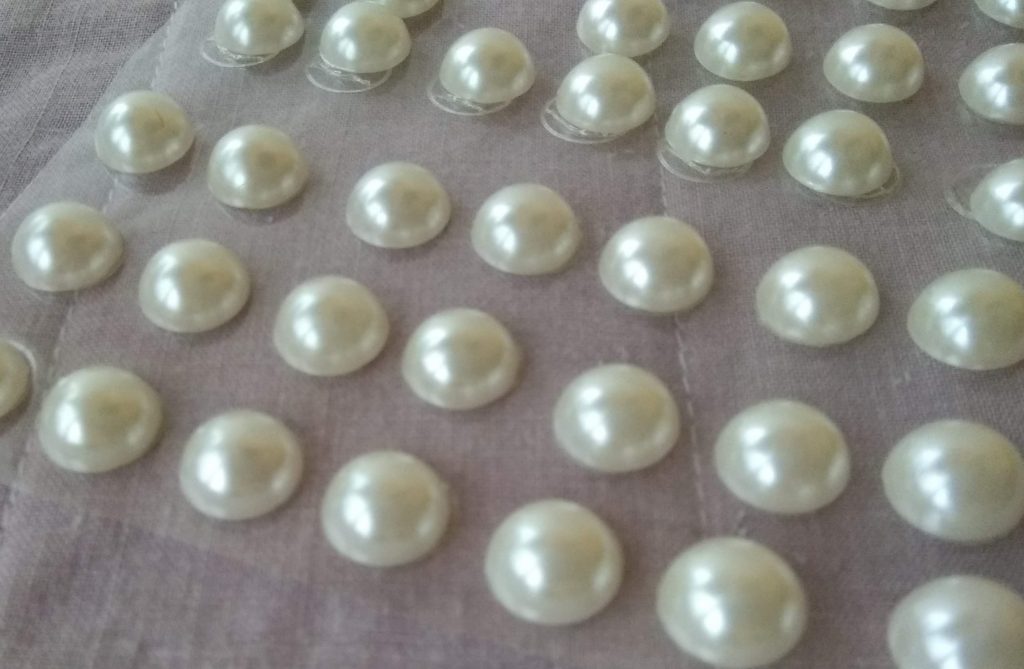
For a bit of extra sparkle in my bouquet I used a glue gun to put some pearly stickers into the centre of each rose.
I got the pearl details from… wait for it…. a pound shop!

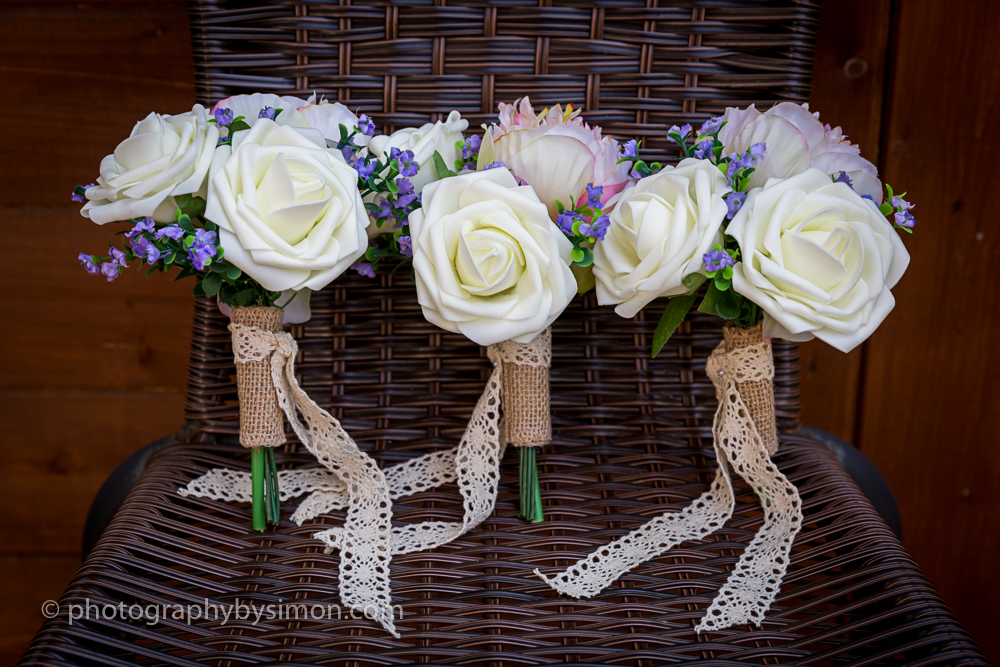
I then moved on to bridesmaids bouquets. I used 1 peony, 2 roses and the “wildflower” so they would match the bridal bouquet.

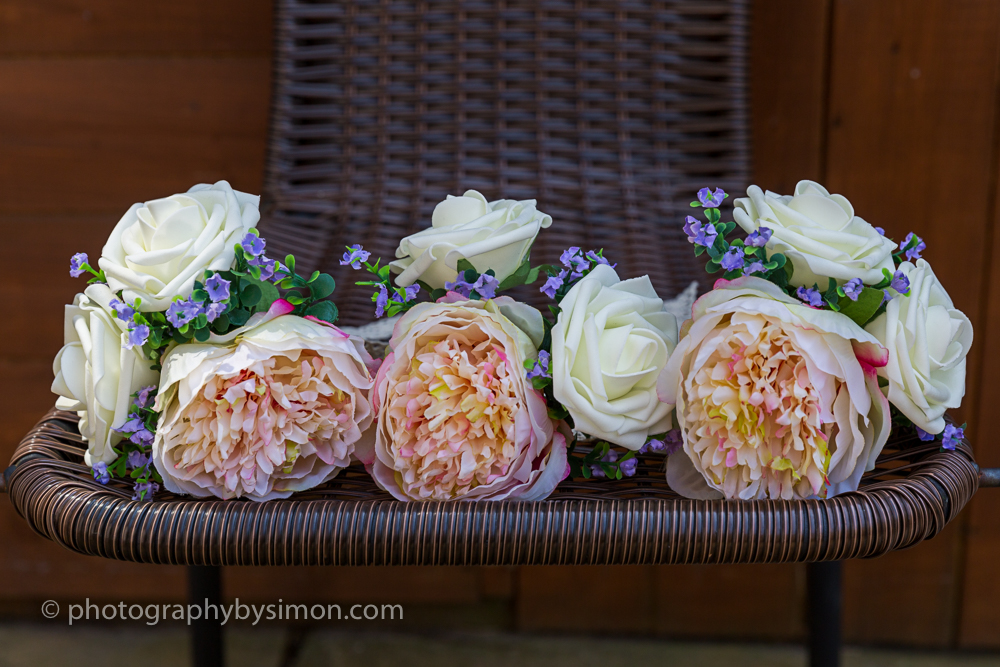
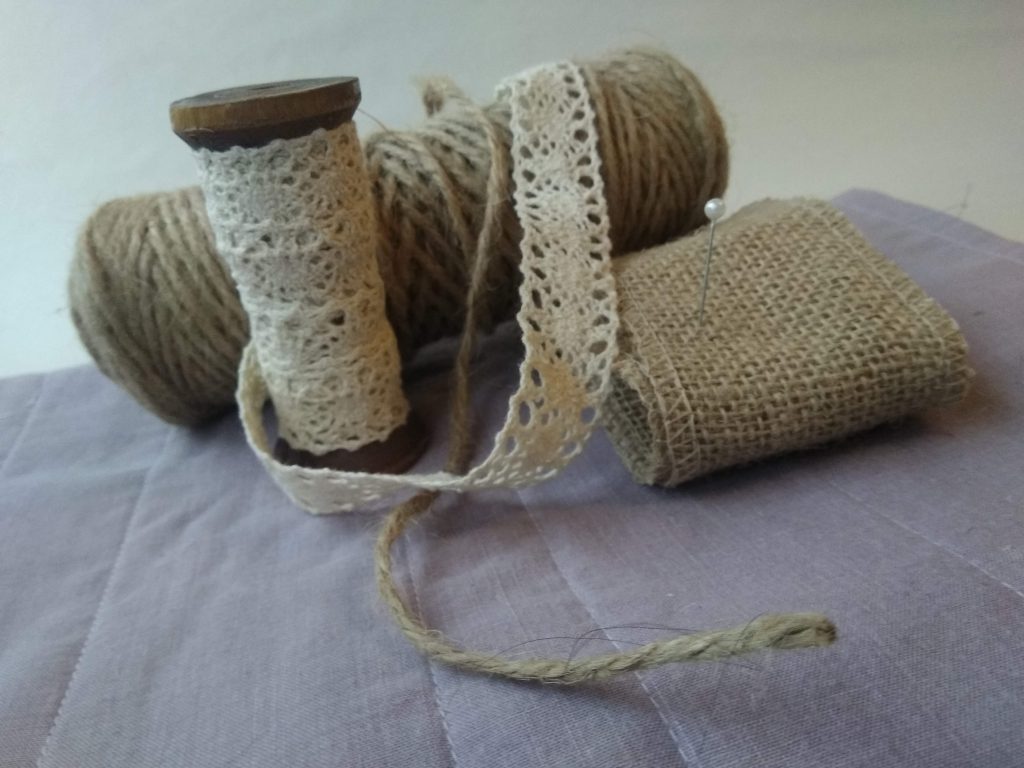
I then had to finish off all the bouquets and so between several cheap suppliers (Pound shops, The Works, eBay…) I found raffia style supplies for wrapping the stems of the bouquet.

What takes the time with these is deciding what you want. If you are reading this page you likely have a Pinterest board. Pin everything you like over a few weeks and then review it. You will start to see a theme emerge and can work on which flowers you want to buy. Then play with your purchases.

Tip: Do this well in advance of the wedding as the majority of cheap flowers can be bought from international sellers who have long shipping times.

These are so easy to put together in an evening once you have decided the look you are going for. You can match the bouquet to your colour scheme and play around with loads of flowers without spending any where near what you would have done one professional flowers.

The best part is we can keep the bouquets as keepsakes from the day. I have mine sat in a glass vase with one of the buttonholes inside the vase.

My wedding dress: a knitting dream come true

It came as no surprise to the people who know and love me that I knitted my own wedding dress. I still don’t know where the idea came from but once I had it, it took hold and I couldn’t stop until I had done it! It was a simple project in the end. Very lengthy but so worth while. I highly recommend it!

I am also proud that I managed to keep the whole thing a secret from my husband.

You will need:

  • Good quality circular needles: I used Addi Click Lace
  • Lace weight wool: I used Patons Lace Sequin in Crystal
  • Stitch markers
  • Imagination
  • Many a good film or TV series to keep you company

The skirt

As soon as I saw Renata Brenner’s Heliotaxis Pi Shawl I fell in love. I knew I wanted a leafy design in my dress and this could not have been more perfect

copyright: Renata Brenner

The shawl pattern is available on Ravelry and is really easy to follow. It knits up really quickly and it really looks like I worked much harder at it than it felt like I did.

See YouTube on in the background so I don’t go completely mad!

The Pi shawl was created by Elizabeth Zimmerman and is explained in great detail in her book:

If you follow her basic principle you can have any design you like for your skirt. You can make it as simple or as complicated as you like.

To make it a skirt rather than a shawl I skipped the first rounds and started at row 26 by casting on 144 stitches onto 5mm needles.

I follow the pattern exactly using stitch markers to keep track of where I was.

At the very end, to add a little more flare, I gradually increased the needle size. From row 103 I did 2 repeats in 5mm and then I went up 1mm at each repeat until I was at 8mm. I them finished of with the 8mm needles.

The finished skirt:

The top

The top was a piece of cake… I made this (available on eBay) :

I knitted 2 the same (front and back). The lace is so loose that there is no need to knit 2 panels for the back – I just wanted it to look like there were so I sewed buttons down the middle.

Making up:

I put both pieces on (many times) and sent endless photos to my long-suffering sister:

We started looking for embellishments to match my purple shoes:

…before settling on the dark purple you see in the final images.

I finally put the outfit on all together to decide how it should sit. My sisters decided that the skirt was too long so I ended up weaving elastic in about 2 inches from the original cast on and pulling it tight. This actually looked quite nice because it created a bit of extra “puff” around the hips. I decided to sew the top and bottom together after this so it would all stay in place on the day.

I bought a tutu skirt in the ASOS sale to go under the skirt and then I had to worry about the top.

I took a cheap white spaghetti strap vest top, turned it inside out and draw a sweetheart neckline on it. I recycled the spaghetti straps to edge it and the sewed this into the dress. It was not neat or pretty but no-one could see it!

And so:

What I learnt:

Knit a test square: I don’t always because I roughly know my tension with most wools but lace knitting is so different and comes out different each time so practising your tension will make it a more uniform piece.

Know what you want: The design is really important. You have to know where you’re going before you start or you end up with mismatched pieces and something that doesn’t quite fit right.

Don’t sweat the detail: I made SO many mistakes in this dress. At first I would unpick and correct every mistake but as the dress progressed most minor errors were hidden in the overall design and I only knew they were there because I stared at it for so long while making it.

Just start: The hardest part was starting. I thought it was ridiculous to think I could knit my own wedding dress but I started and then just kept going.