I love gifting my knitting. There’s nothing better than using up that ball of wool that you bought with nothing in mind. Using it for a project and giving it away. It gives me all the joy of crafting and none of (well, a reduction in) the clutter.
Tablet cases are such a good way of using up an interesting ball of wool on something practical and pretty. They are so easy to customise and make your own.
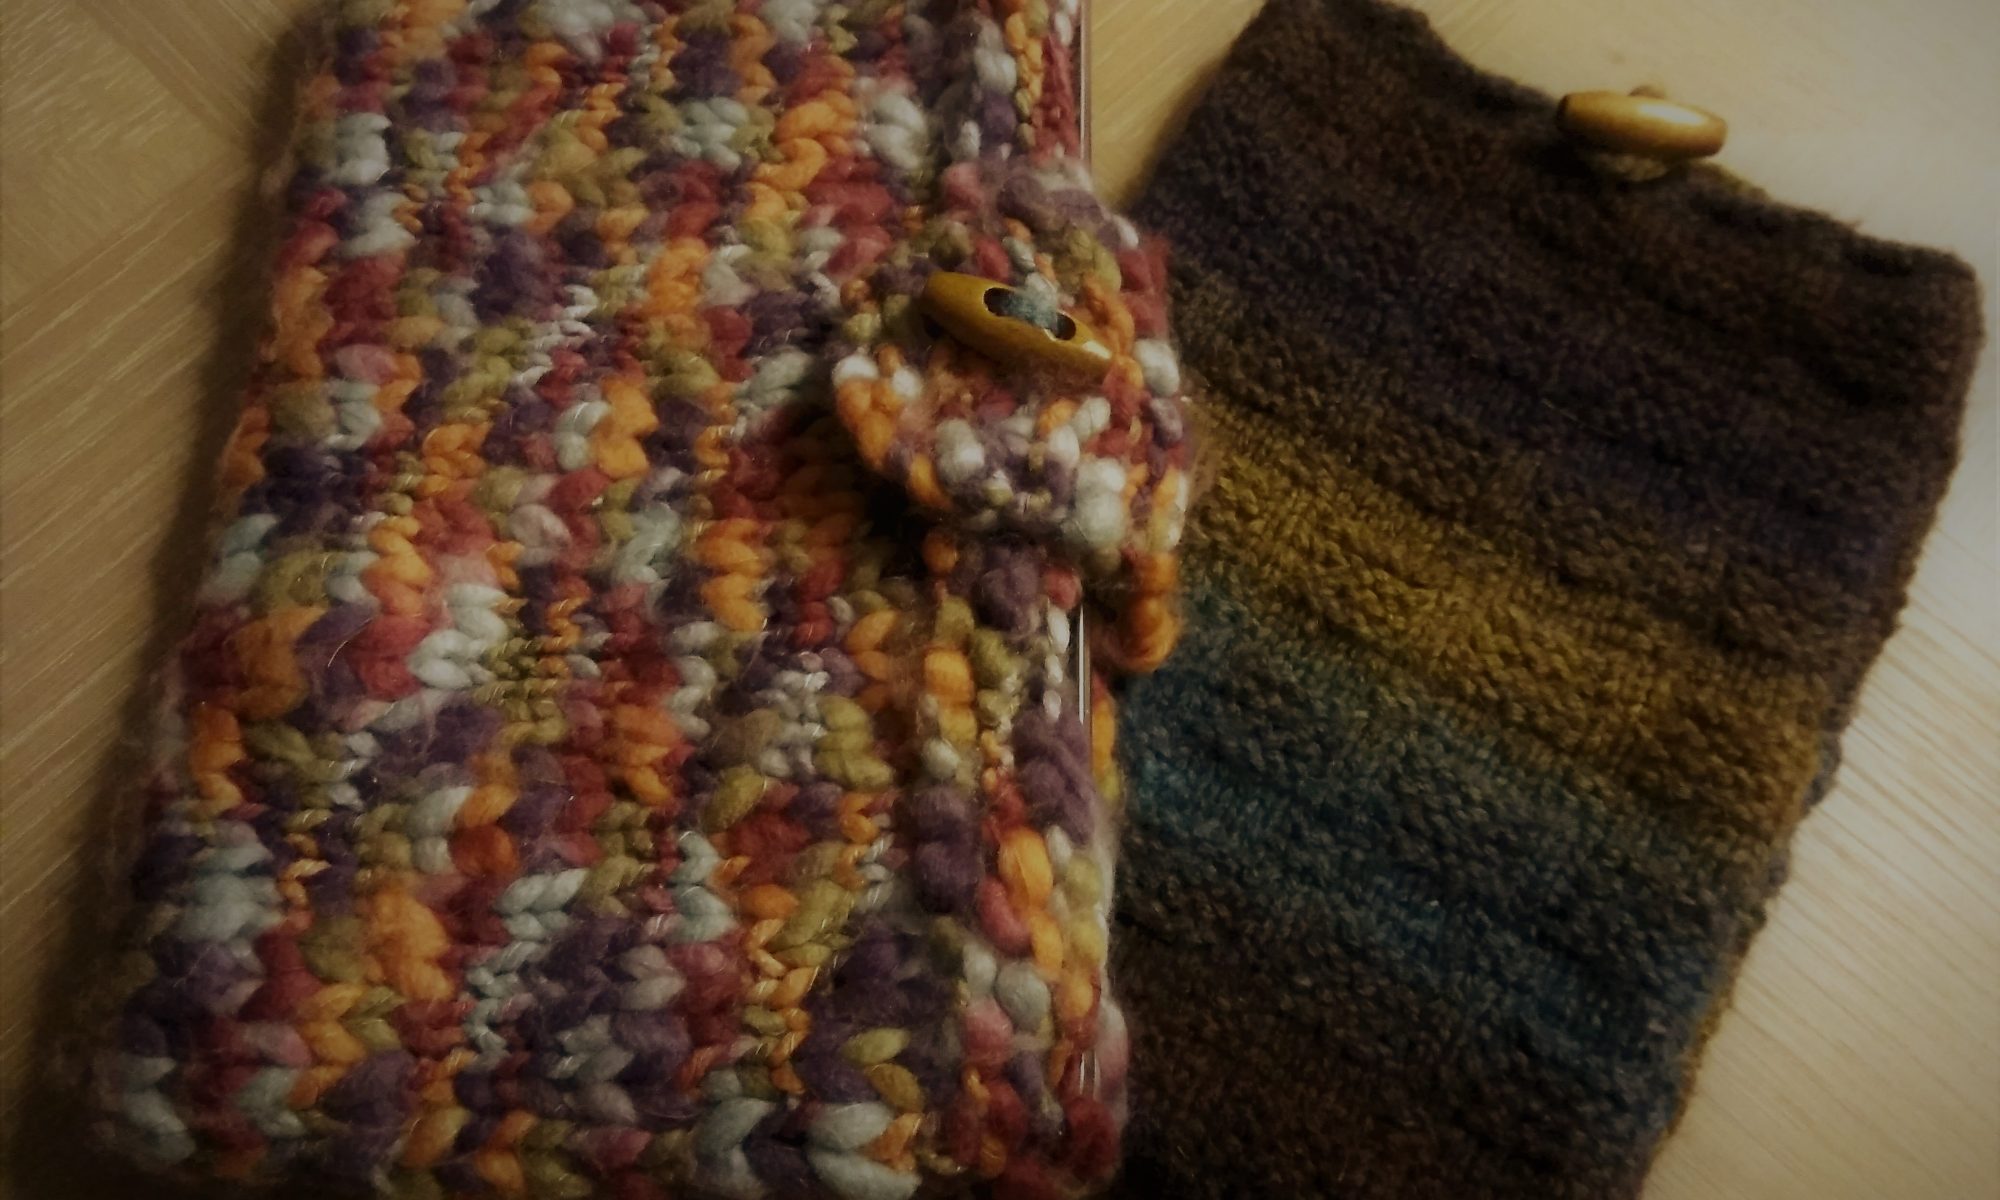
Take these 2 – I’ll let you guess which is mine and which is my husband’s…
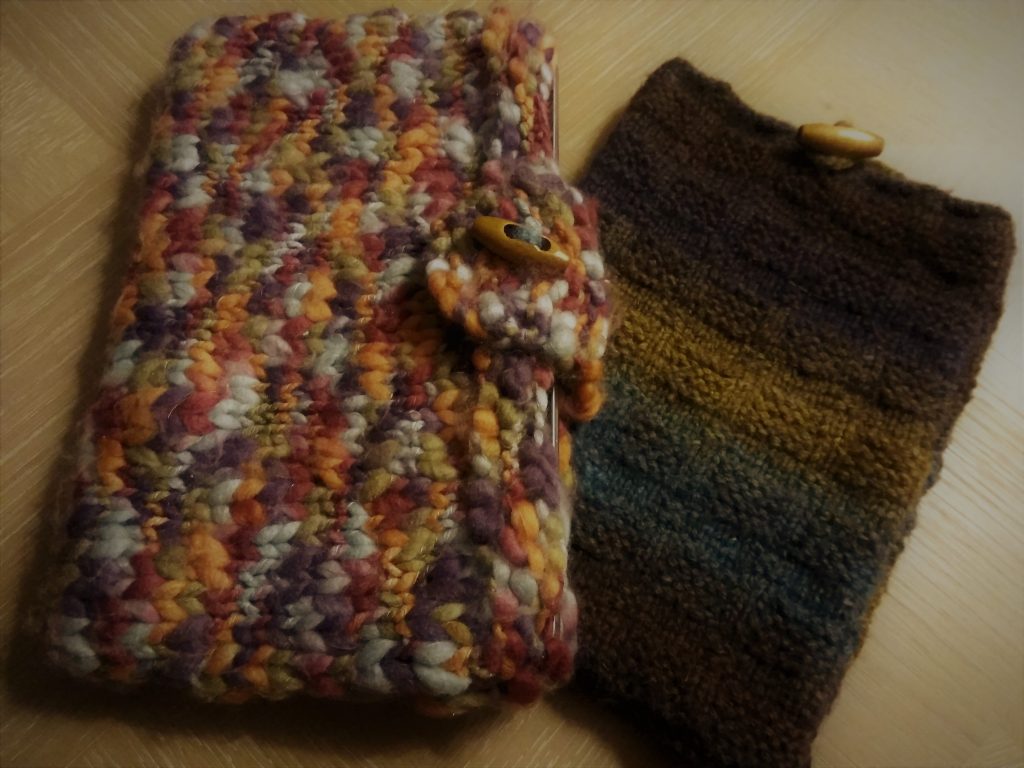
Both of these were made with a wool that I had bought with no purpose until I got bored one day and decided to make these.
Making your own is so easy.
- Measure your tablets height and width.
- Knit a swatch of your wool to work out number of stitches and rows needed.
- A few calculations and then off you go…
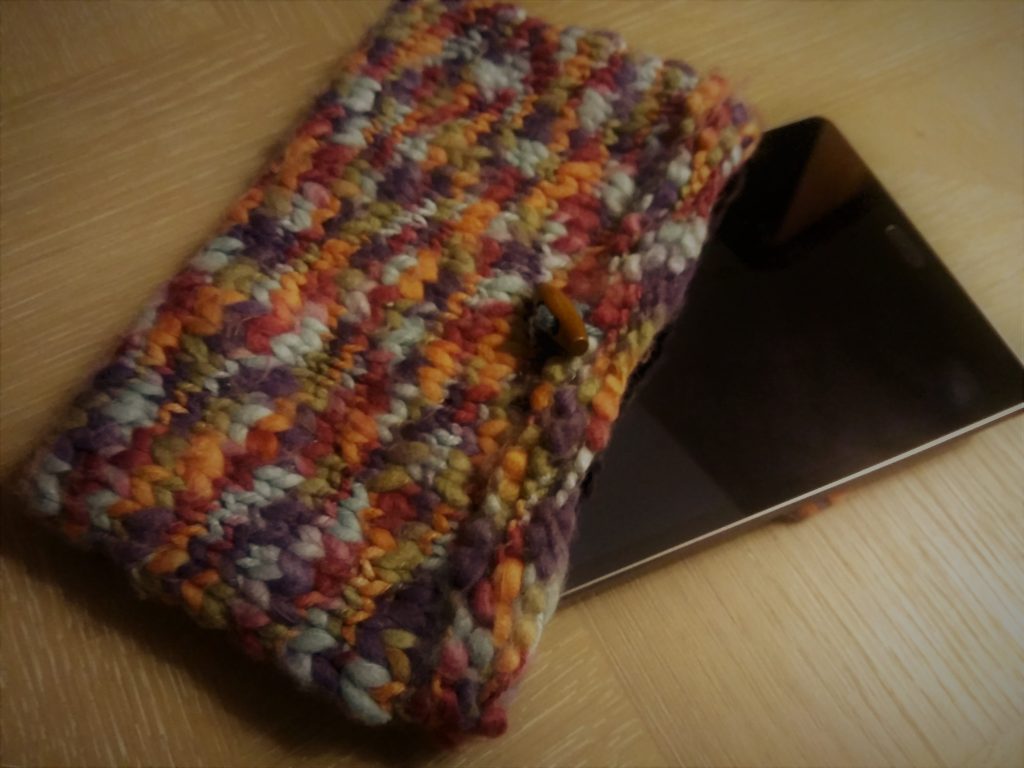
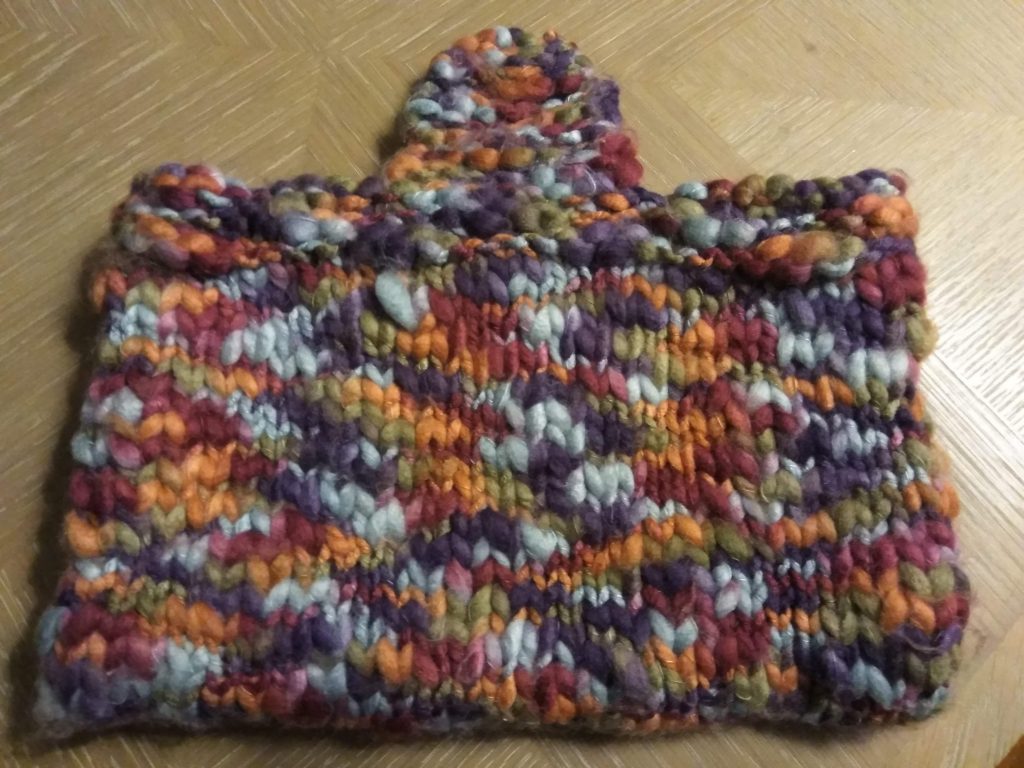
For this side opening case:
- Use your test swatch measurements to cast on the number of stitches needed to match the height of your tablet.
- Calculate the number of rows that would equal double the width of your tablet.
- Work out the desired number of stitches for the width of your button band.
- (Subtract this from the total number of stitches and divide by 2 – keep this number for later)
- Cast on required stitches and complete 4 rows of garter stitch.
- Stocking stitch until you have desired number of rows minus 4 and then finish with 4 rows of garter stitch.
- Now cast off the number of stitches from your calculation and work to end.
- Cast off the same number of stitches again and you will be left with the stitches for a button band.
- I worked in garter stitch with a (K2tog YO) for the buttonhole.
- Fold over and sew up the edges.
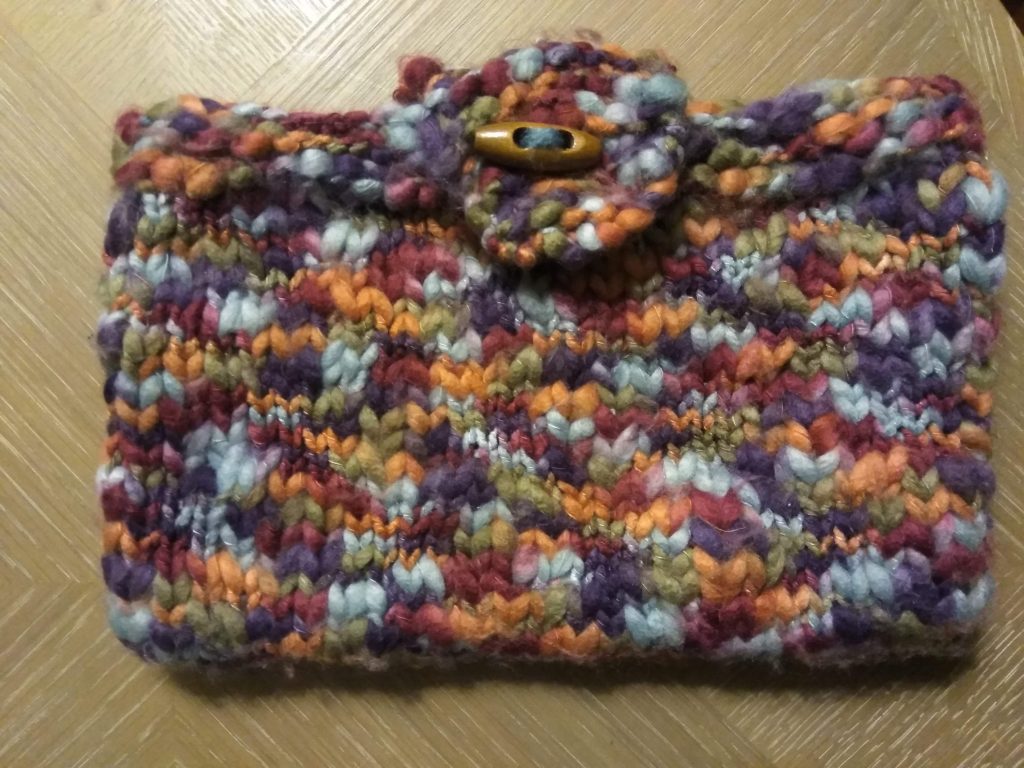
You can customise this in a number of ways:
- Work width x2 and then extra to have a fold over flap.
- Have 2 button bands
- Garter stitch throughout (but bare in mind that this will give your case extra stretch.)
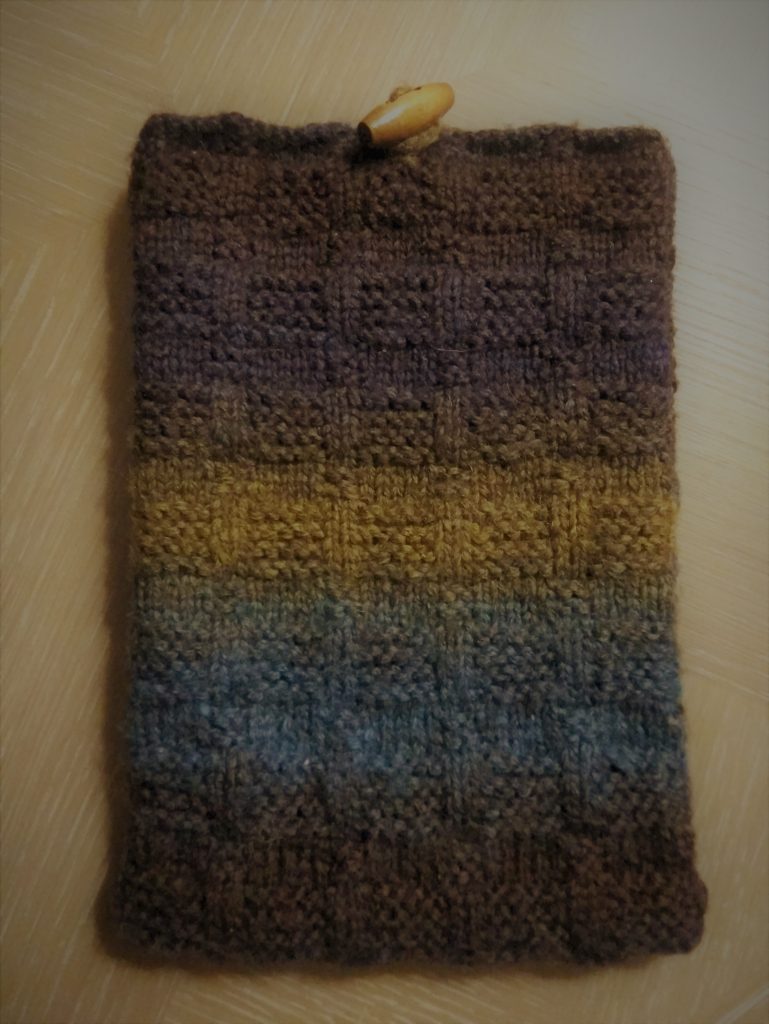
For this top opening case
- Cast on the number of stitches that would match the width of your case.
- Calculate the number of rows that would equal double the height of your tablet.
- I used a basket weave stitch for this as I thought it suited the wool and so I made sure that I rounded up (or down) to the closest number that was divisible by 6 +4 over.
Basket weave stitch:
- Rows 1+3: P4 (K2 P4) repeat to end
- Rows 2+4 K4 (P2 K4) repeat to end
- Rows 5+7 K4 (P2 K4) repeat to end
- Rows 6+8 P4 (K2 P4) repeat to end
The button band for this was done by adding a crochet chain into my cast off. I’ve used some scrap wool and just a few stitches to demonstrate this below. It is a really simple method that I have used for lots of projects.
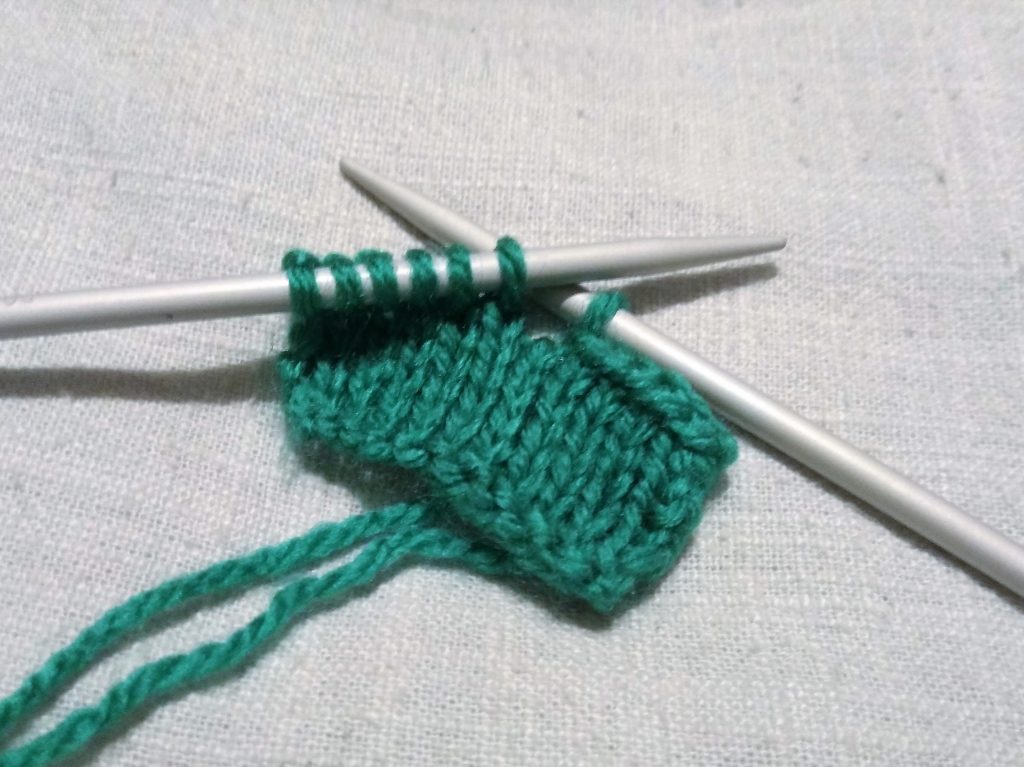
Cast off half the number of stitches 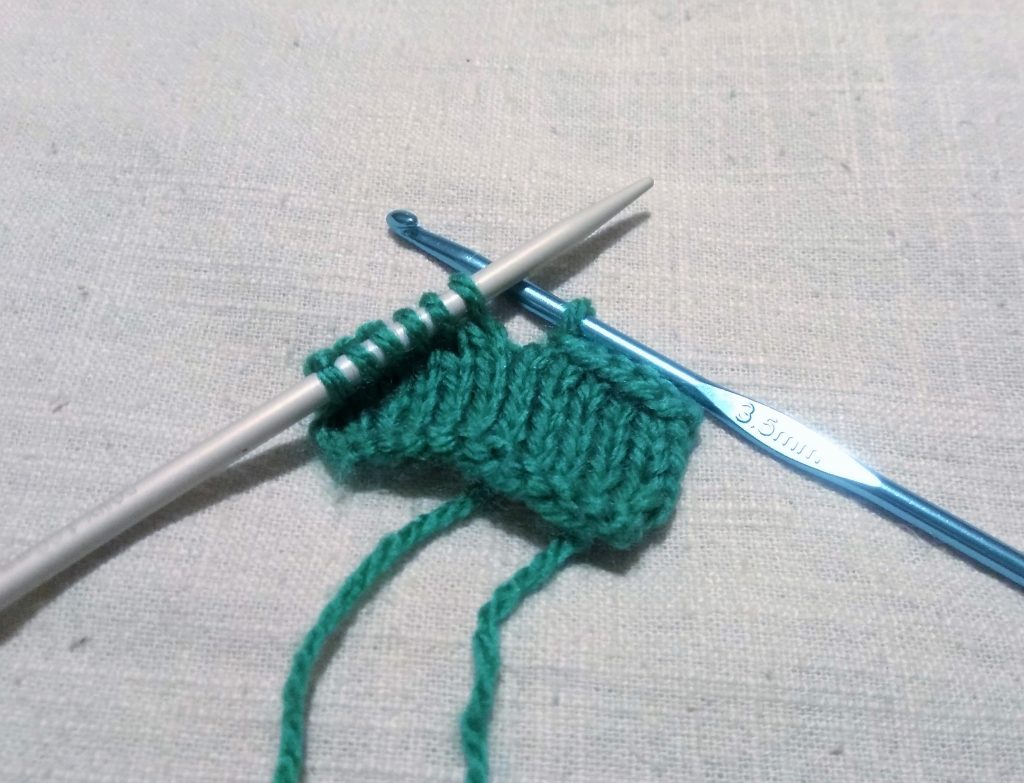
Switch to a crochet hook 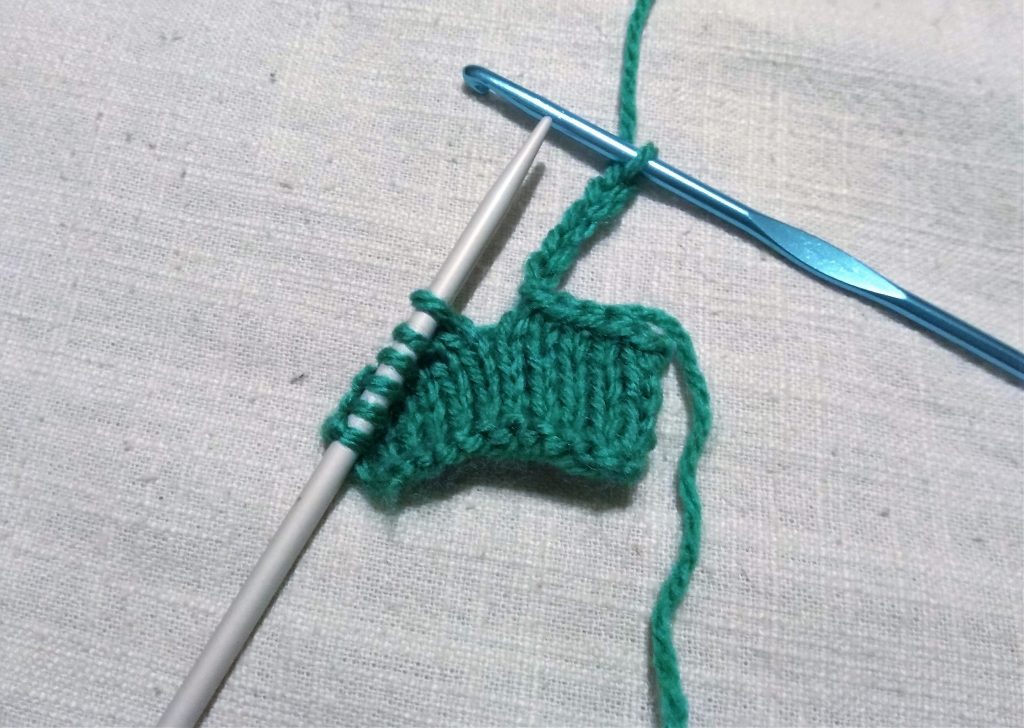
Chain until your buttonhole is long enough 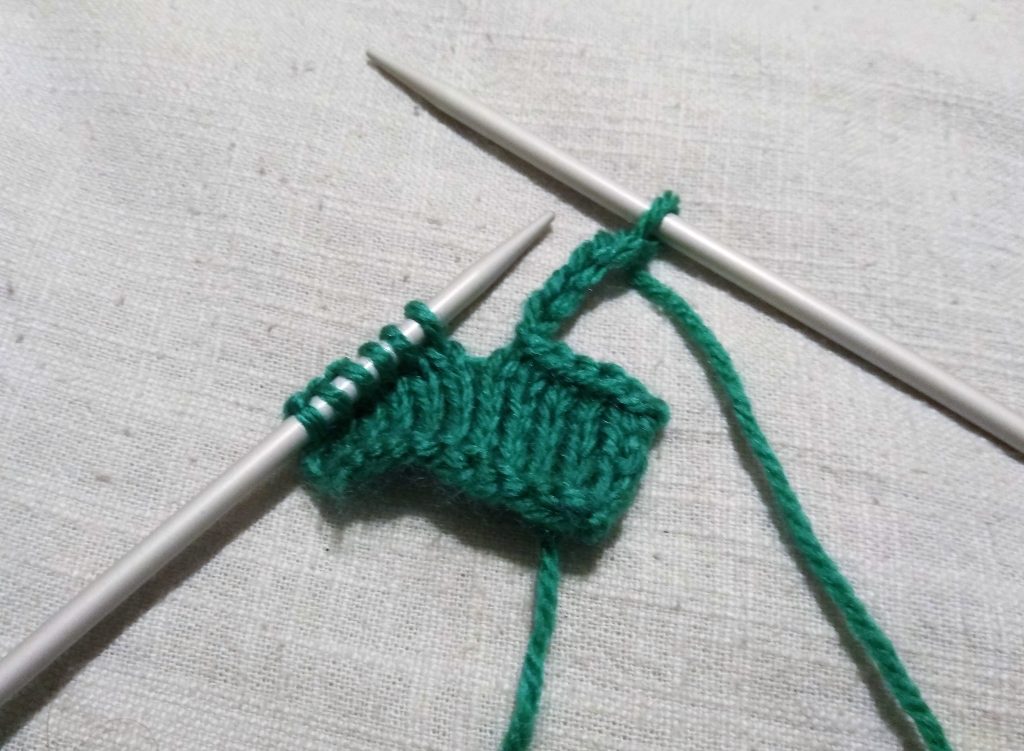
Switch back to a knitting needle 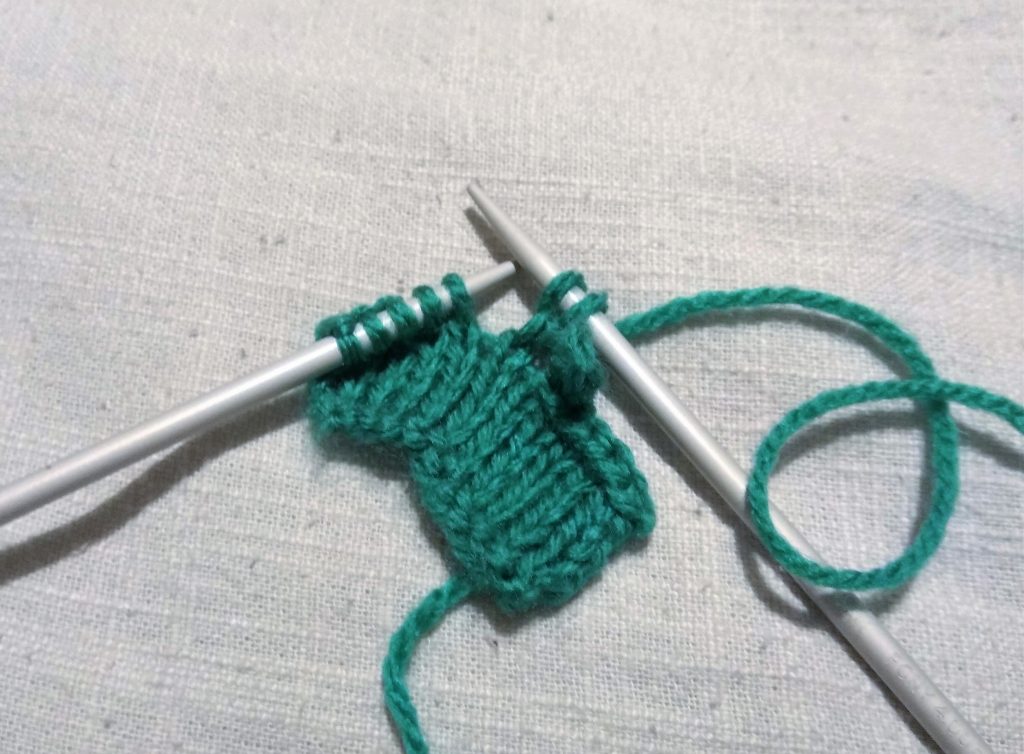
Knit the next stitch as usual – Continue cast off 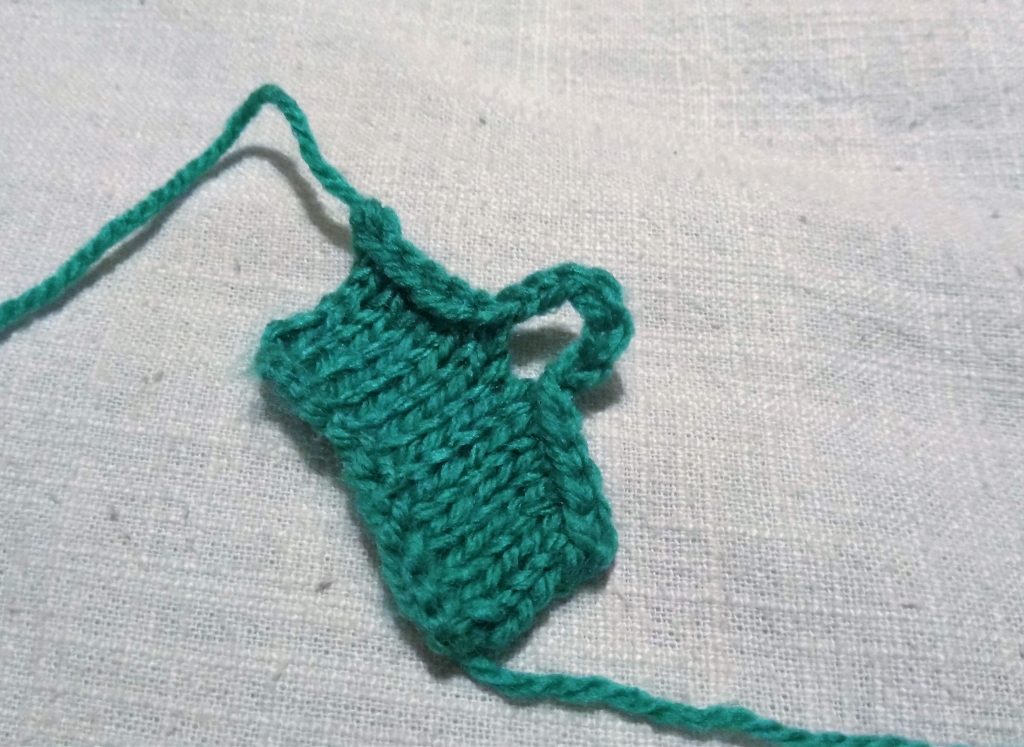
The finished button hole
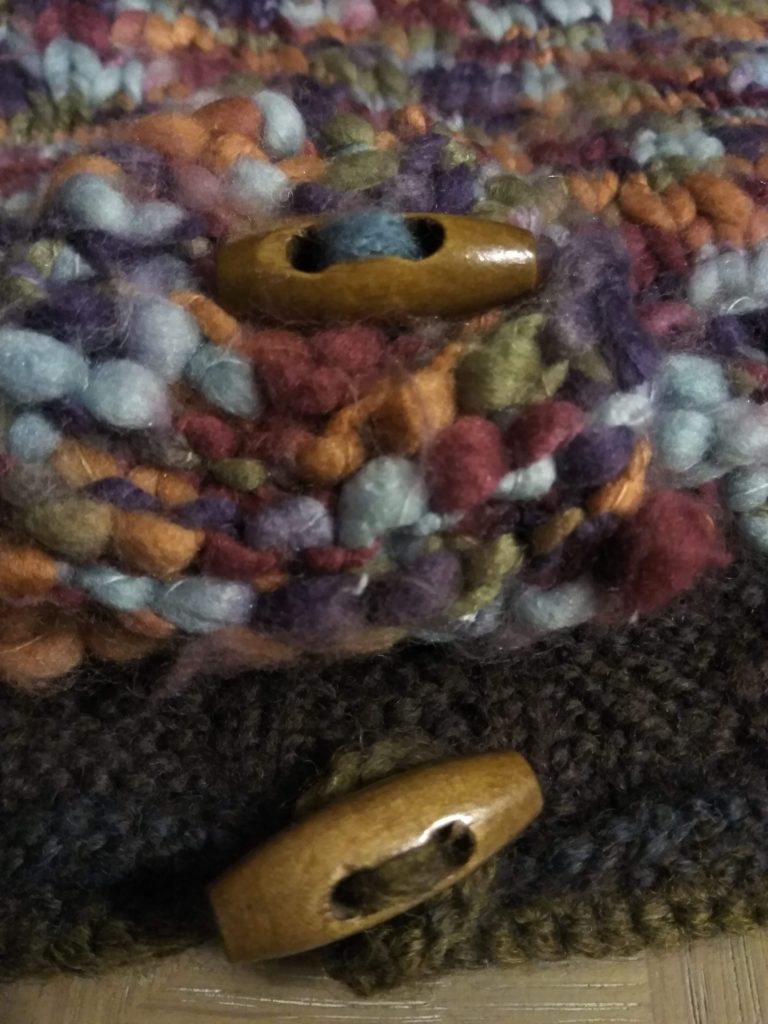
Finish it all off with a complementary button – I like these toggles.
With a bit of imagination, an interesting stitch you want to try and a friend with a “naked” tablet, you have the perfect weekend project.